Category Archives: Gift Wrap + Packaging

Gift Wrap: Leather + Eucalyptus

October 31, 2018

Filed Under : Gift Wrap + Packaging

I have recently started releasing a selection of laser cut + engraved items into my Shop, and the leather name tags just landed there today. To celebrate, I’ve created a fall-inspired gift wrap post for you!

Things to grab:

• The usuals: scissors, double sided tape
• Adhesive spray (I used the ModPodge brand)
• Metallic gold polka dot confetti wrapping paper (or something similar)
• Dried eucalyptus
Fine gold glitter
Copper rust velvet ribbon, 1/4″ width
Leather tag

After your present is wrapped and trimmed out with ribbon, cut your dried eucalyptus to size based off your wrapped gift’s size. Spray with the adhesive, and dust with the glitter. If you’d like, you can also use a sealer spray to limit the glitter shedding. Once it’s dry, tuck the eucalyptus underneath the ribbon and attached the leather tag.

Gift Wrap: Air Plant

October 10, 2018

Filed Under : Gift Wrap + Packaging

I love see-through wrapping paper, but it’s often times bypassed because the whole point of wrapping something up is to conceal what is underneath. I have purchased multiple sheets of such paper and even over here (where wrapping things is a weekly event) it collects dust too.

But let me tell you a secret. If you find yourself a box that’s pretty enough to not wrap, then wrap it anyways with the see-through paper. The layered effect is absolutely glorious!

Things to grab:
• The usuals: scissors, double sided tape
• See-through wrapping paper
I found this lace style one at Paper Source years ago.
• Pretty box
I chose cream colored handmade boxes with a gold glitter polka dot pattern. If you look closely enough, you’ll see the glitter popping out underneath the wrapping paper. So cool.
Metallic green line ribbon
• Small air plant
Can be sourced at most local nursery or even online. Mine are from Etsy.

After your present is wrapped and tied up with a bow, simply slide your air plant either underneath the ribbon, or if it’s too fluffy, add a dap of non-toxic washable glue to get it to stay. It won’t harm the plant and will wash away as needed.

Gift Wrap: Birthday Animals (Dinosaurs)

September 26, 2018

Filed Under : Gift Wrap + Packaging

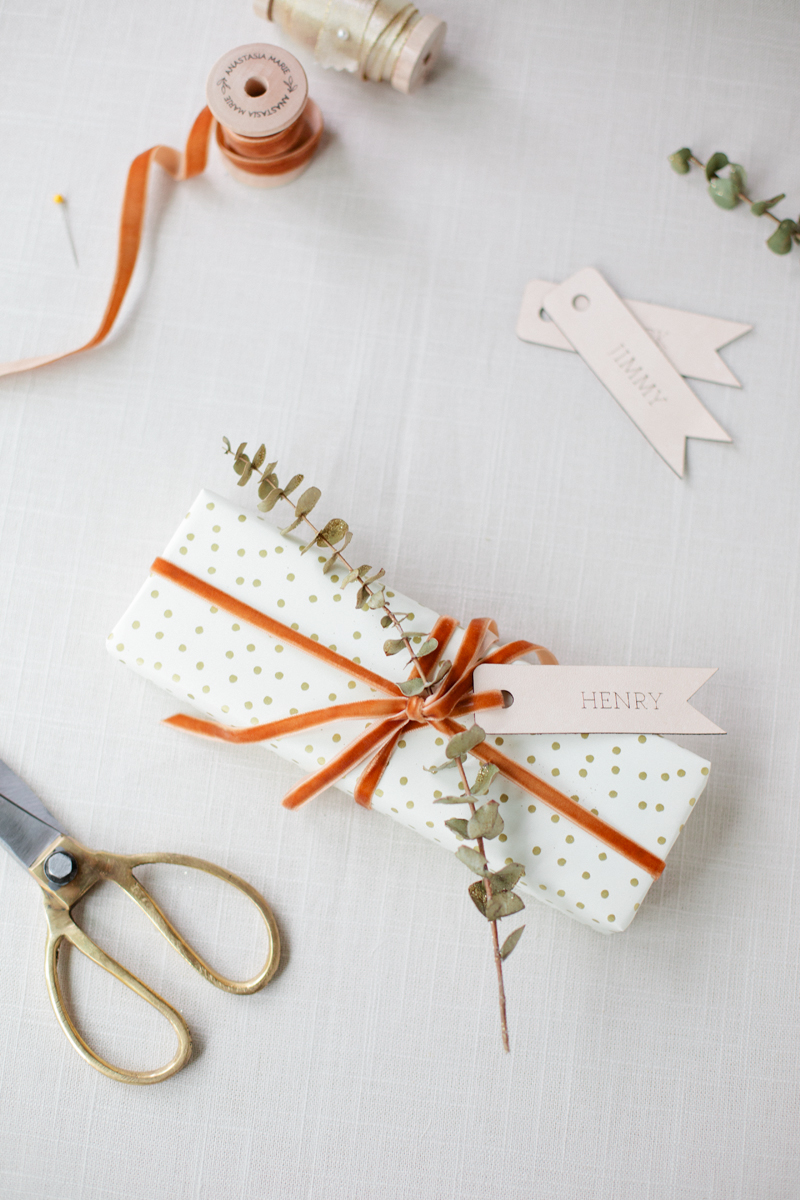
We were heading to a birthday party for one of Henry’s friends, and last minute, I decided that it was high time I took photos for the blog. Originally, I wasn’t perfectly content with how this wrapped gift turned out, but I’m glad that I made myself snap some photos anyways because looking at it now, it definitely has my heart. I’m thinking it’s all in that dinosaur wrapping paper.

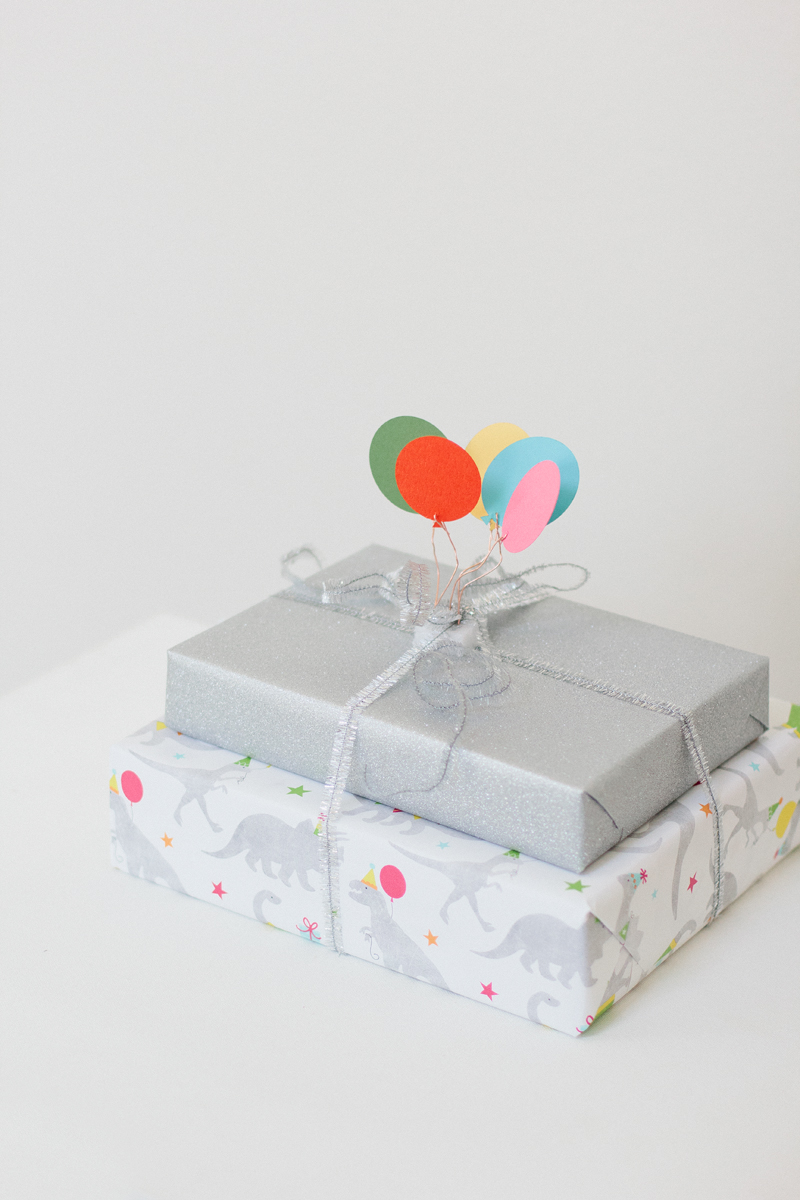
I had already purchased the wrapping paper at Home Goods, and used that as the sole inspiration for this. The party animals (dinosaurs in this case) were rocking their party hats and holding balloons—and they were just asking for a balloon topper.

Things to grab:
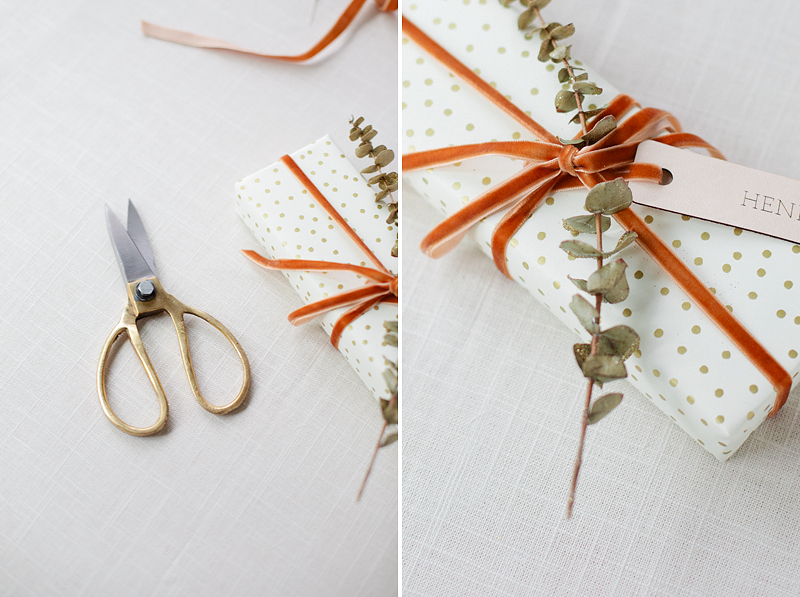
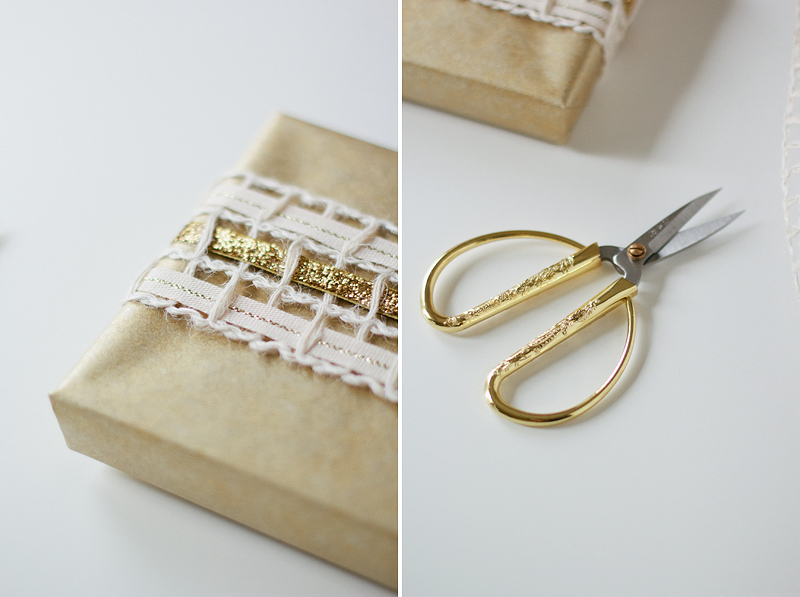
• The usuals: scissors, glue, double sided tape
• Party animal gift wrap
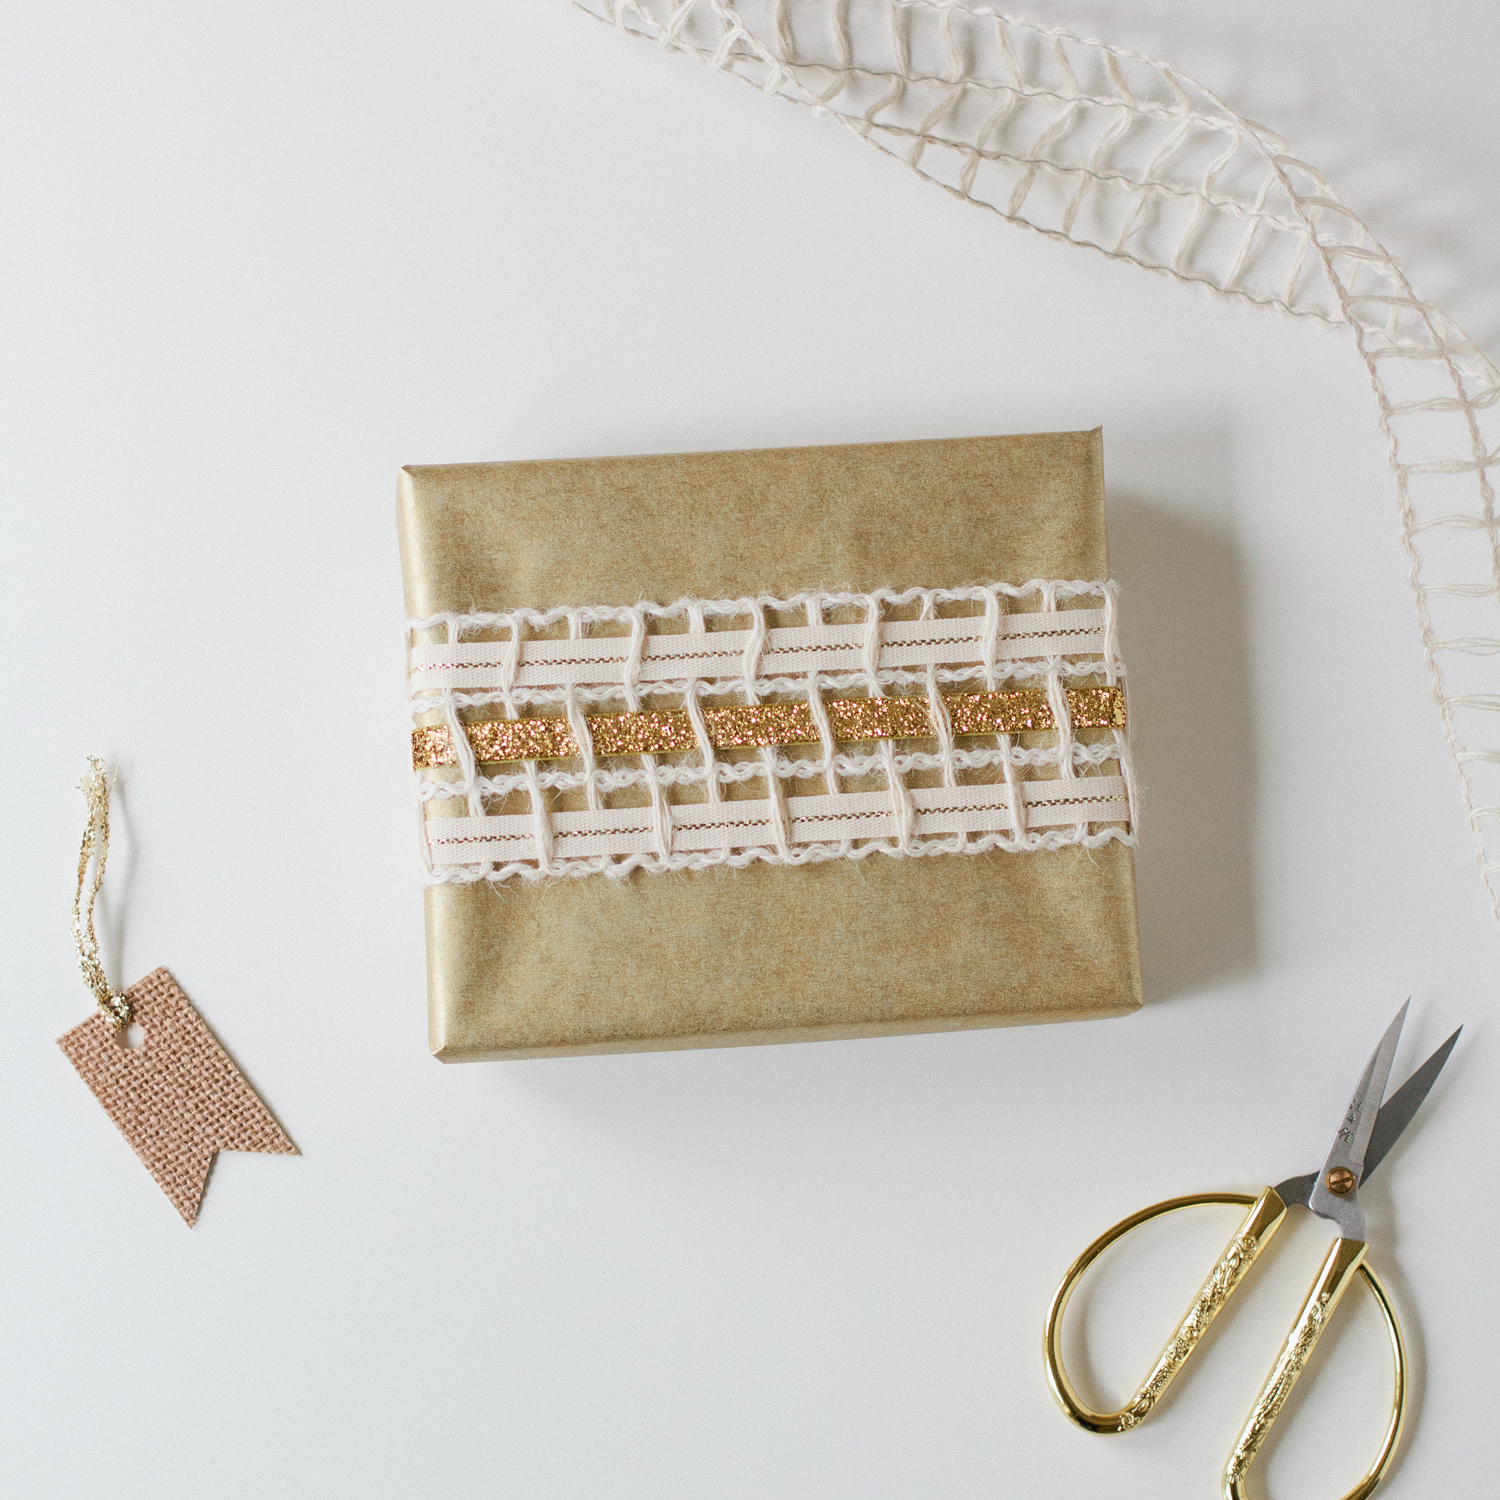
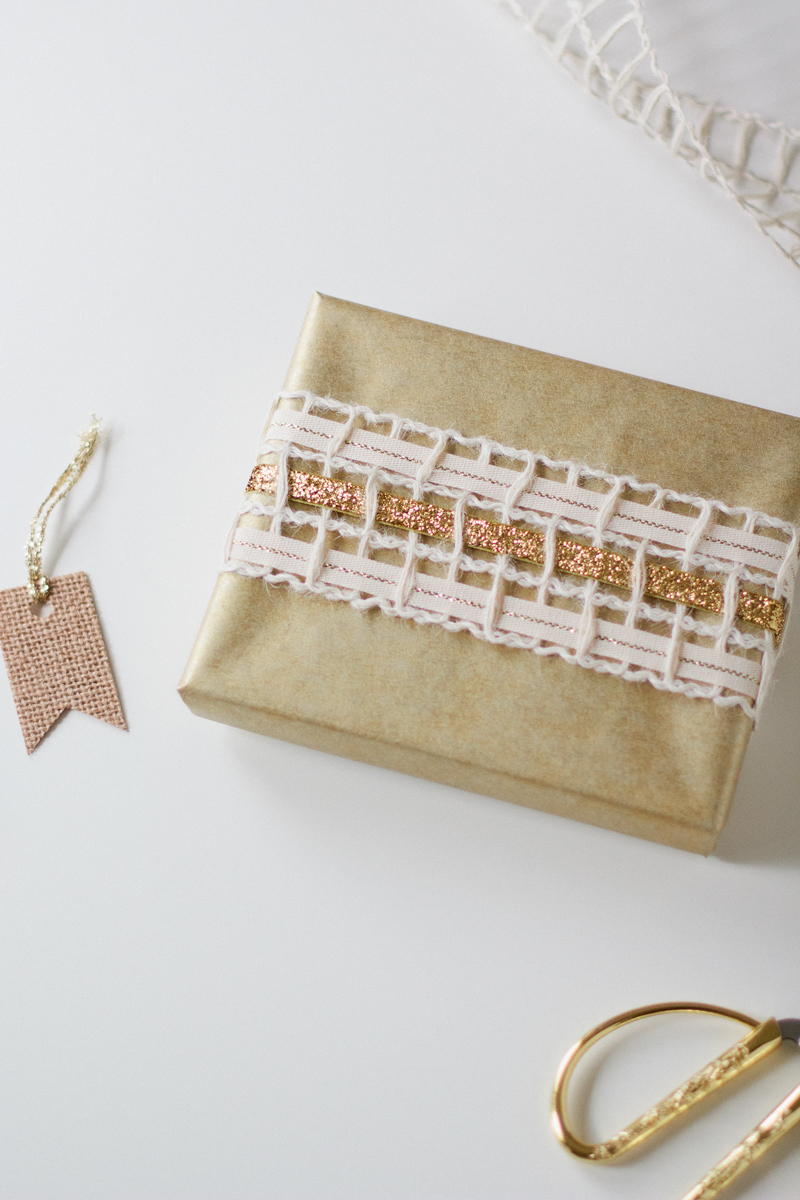
If you have a second box to wrap like I did, glitter gift wrap was my first choice for a companion.
• Colored cardstock in five different colors
• Sturdy wire
I didn’t have any on hand, so I swapped this out for some small rose gold paper clips and bent them into the shape I needed.
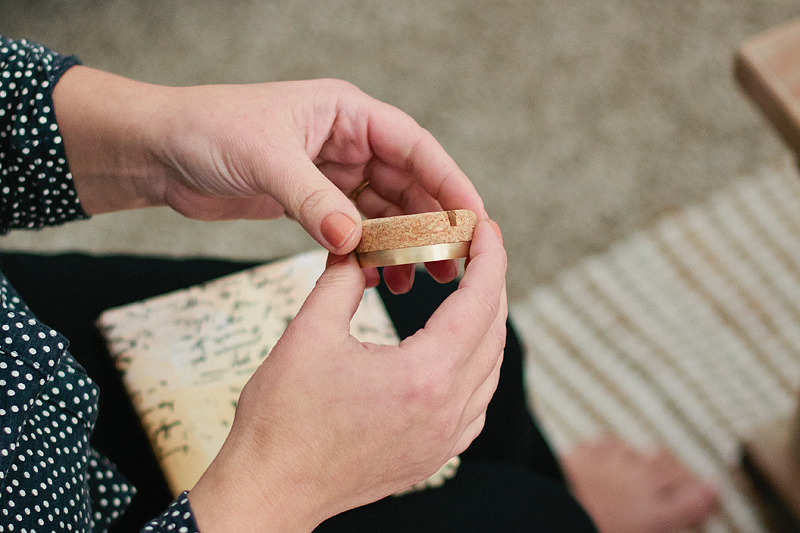
• 1″ wide square piece of rigid foam, about half an inch tall
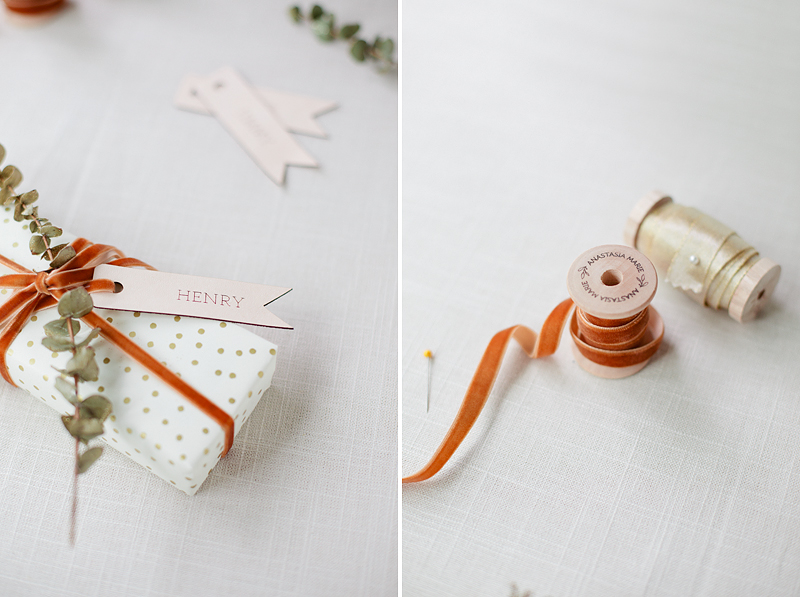
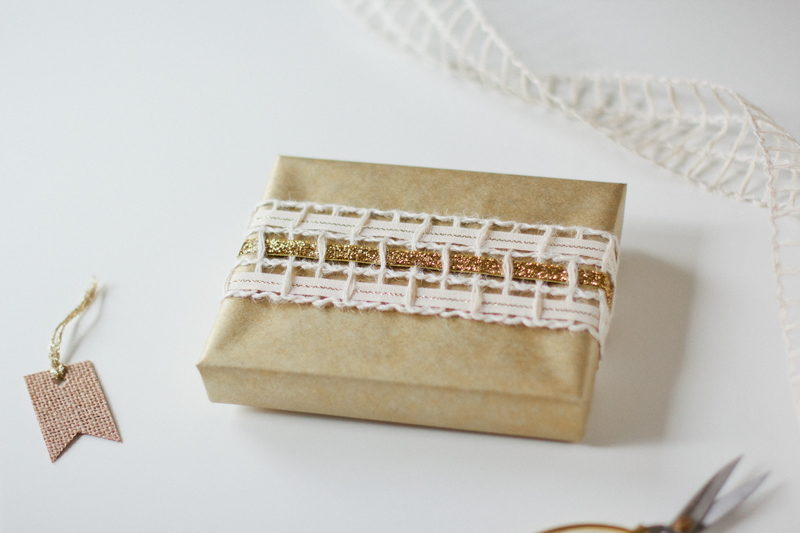
• Metallic wired tinsel fringe ribbon

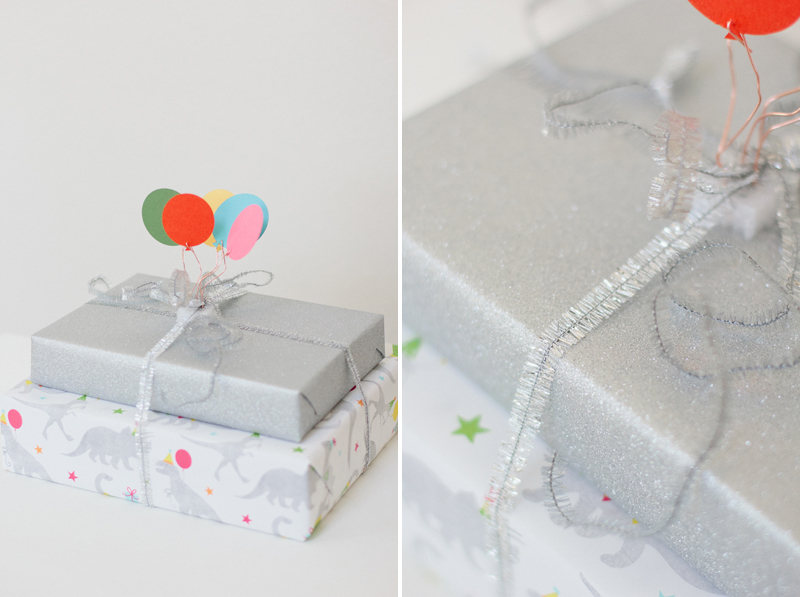
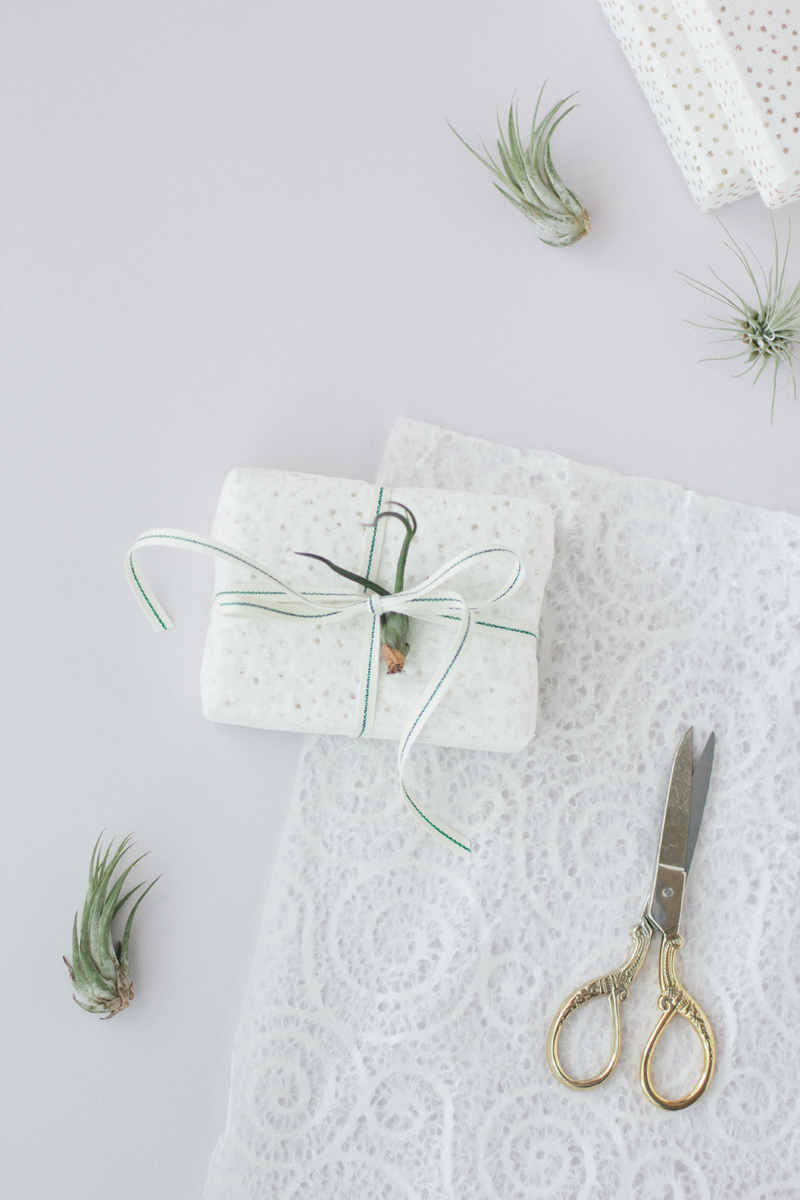
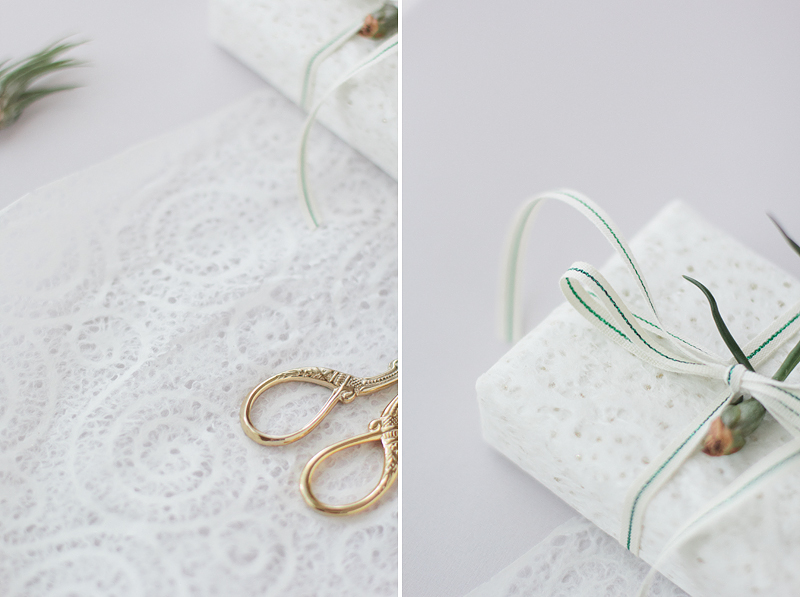
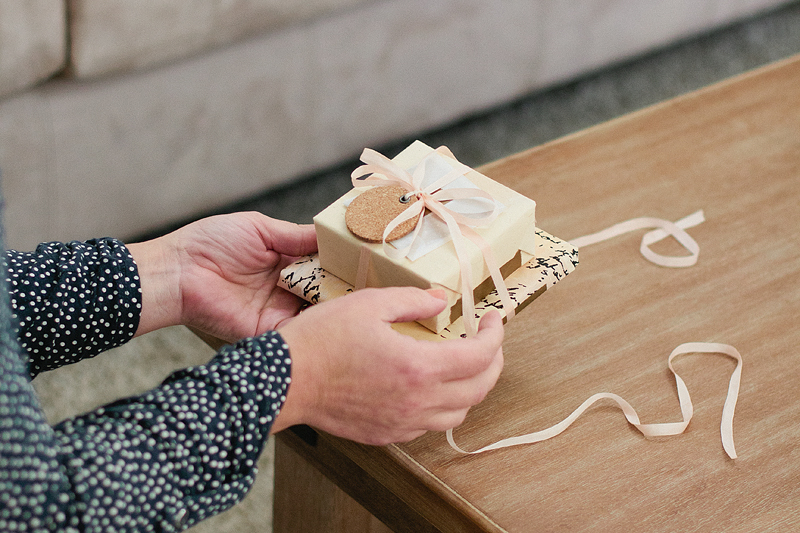
To start, get your gift(s) wrapped up, stacked if needed, and tied up with the ribbon. I’m not a huge fan of wired ribbons, but I opted for a wired style this time around to create fun loops to help the balloons look more perky. Set that aside.

I used a laser cutter to make my paper balloons, but if your tool is a pair of scissors, it can be easily done using a template that you pre-make yourself or search for on the internet. Once your balloons are cut out, poke a hole towards the bottom of each one and slip a wire through (or straightened paper clips like I did). Fold the top end of the wire over and then twist around to secure. I had to use pliers for this as I was using stiff paper clips. My balloons flopped over anyways after doing this since I couldn’t successfully twist snugly enough, so I added a dap of glue where the wire and paper met.

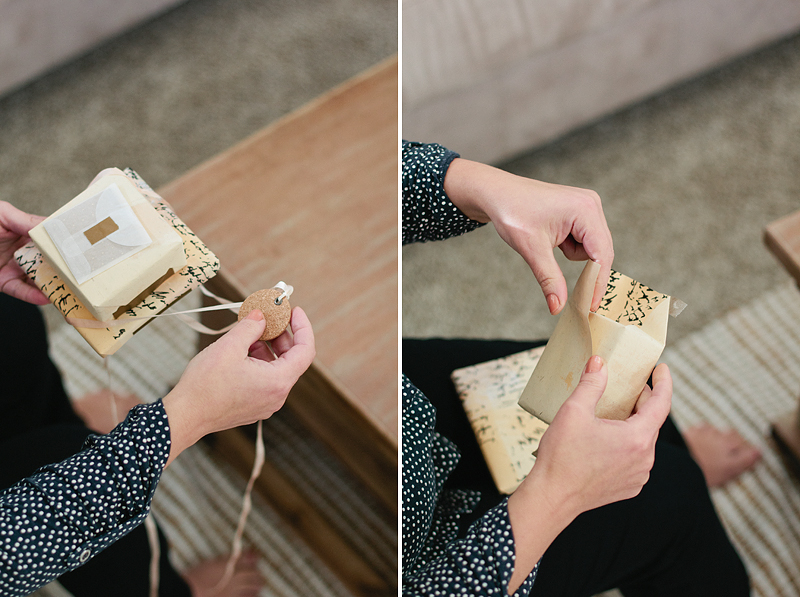
Glue your small foam piece under the ribbon bow, then simply poke the balloons into it. The foam keeps the balloons from falling over, but can be unsightly if it’s too big. If it doesn’t tuck away neatly enough, try painting it the same color as the wrapping paper or making it smaller.

Done!

Gift Wrap: Woven Sparkle

December 8, 2016

Filed Under : Gift Wrap + Packaging - Paper Projects

woven glitter gold gift wrap // ANASTASIA MARIE

Weaving ribbon together can create quite the timeless wrapped gift. For todays’ gift wrap idea, it’s perfect for the holidays. Whether it’s a Christmas present or a winter birthday, sparkle can never go wrong this time of year! Here’s what you need to re-create this look (click on the links below to source items):

Gift box
Gold kraft wrapping paper
Open-weave wired ribbon
Gold glitter velvet ribbon
Gold center stripe ribbon
Ivory cotton string

Scissors
Double-sided tape

Start by wrapping your boxed gift with your wrapping paper, using the double-sided tape to secure the flaps. Next, wrap the open-weave ribbon around the box across the longest length. Tie the two ends together in the back using the cotton string.

Then start weaving! Use the gold glitter velvet to weave through the middle portion of the open-weave ribbon. Tie the two ends in the back with a small knot. Repeat with the gold center striper ribbon on the two outer portions of the open-weave ribbon and knot those as well in the back. If you’d like, you can tie on a mini burlap tag to finish it off.

woven glitter gold gift wrap // ANASTASIA MARIEwoven glitter gold gift wrap // ANASTASIA MARIEwoven glitter gold gift wrap // ANASTASIA MARIE

Gift Them Memories with Artifact Uprising

November 3, 2016

Filed Under : Gift Wrap + Packaging - Paper Projects - Personal

I published a post earlier this week with a gift wrap idea, well, here’s the continuation of that.

wrapping with cork // anastasia marie

I’ve teamed up with Artifact Uprising again to bring you this post. Artifact Uprising has recently released the most adorable cork + brass stand to host your square prints and I’m here to gush all about it. I gifted one to my mama earlier this week along with a set of square prints of Henry growing up. I put dates on the back of each print so she can always know when the photo was taken. What I love most about square prints and the little stands that coordinate with them is your ability to swap out prints whenever you feel like it, no hassle. Whether it’s your favorite quote or a memorable snap, my bookshelf is happier with such a stand.

artifact uprising cork stand and prints // anastasia marieartifact uprising cork stand and prints // anastasia marieartifact uprising cork stand and prints // anastasia marieartifact uprising cork stand and prints // anastasia marie

My parents are undergoing a massive overhaul in their home right now, renovating just about everything on the first floor. Changing things up does make the space you spent years in making memories look very different, but my mama was so excited to unwrap the stand and square prints, adding that it was the perfect touch she needed to keep up with all that “something new” in their space, yet timeless memories of what has already happened there in order to make it a home. Let’s just say my home is enjoying the benefits of this cork + brass stand too.

artifact uprising cork stand and prints // anastasia marie