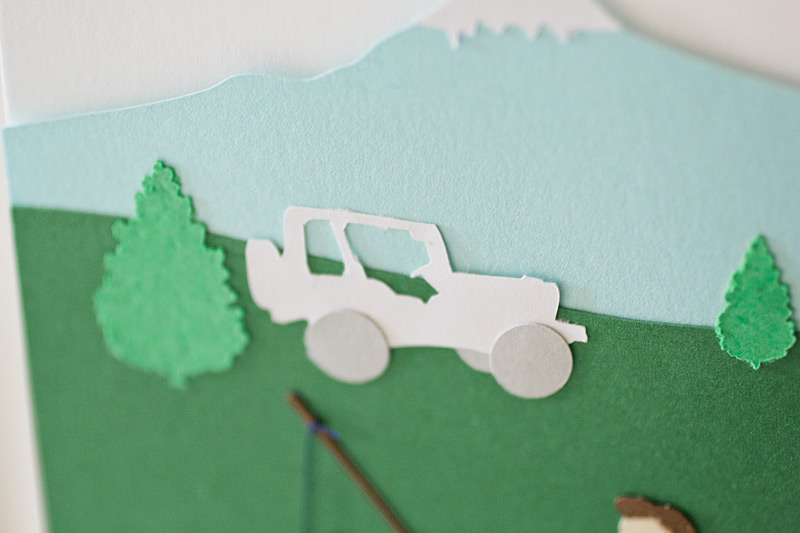
This card was custom created by a gal to give to her sister on her wedding day. The card depicts the sister with her then fiancee doing one of their favorite activities together: fishing. How cute is that?


See more of my custom cards here.

July 7, 2015
Filed Under : Cards - Paper Projects

This card was custom created by a gal to give to her sister on her wedding day. The card depicts the sister with her then fiancee doing one of their favorite activities together: fishing. How cute is that?


See more of my custom cards here.
June 30, 2015
Filed Under : Gift Wrap + Packaging - Paper Projects

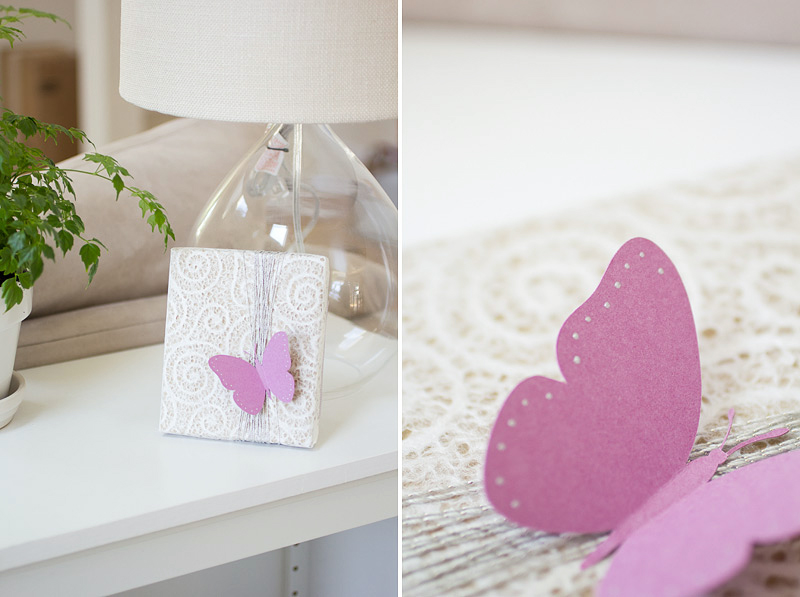
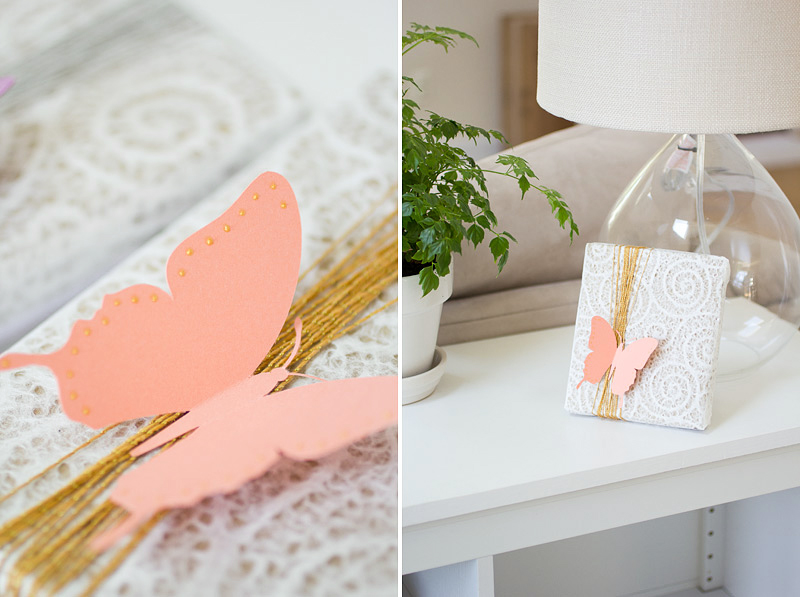
Inspired by my last gift wrap post, the caterpillar, today I have butterflies for you. I wrapped up two baby shower presents for two sisters with this idea. Packaging supplies needed are listed below:
White patterned wrapping paper (the one I used was found at Paper Source)
Glitter twine
Pastel colored cardstock
Puff glue
Double-sided tape
Tacky glue
Scissors
Wrap your boxed gift with the wrapping and secure with the double-sided tape. Wind a few layers of the glitter twine around the package, securing with a knot on the backside of the package. Next, cut out a pretty butterfly silhouette. Bend the wings up to give it a bigger 3D effect. Using the puff glue, dot along the edges of the butterfly wings. Once that dries, use the tacky glue to secure the butterfly onto the package, putting glue only on the body of the butterfly (not the wings!) And you’re done!

June 24, 2015
Filed Under : Cards - Paper Projects
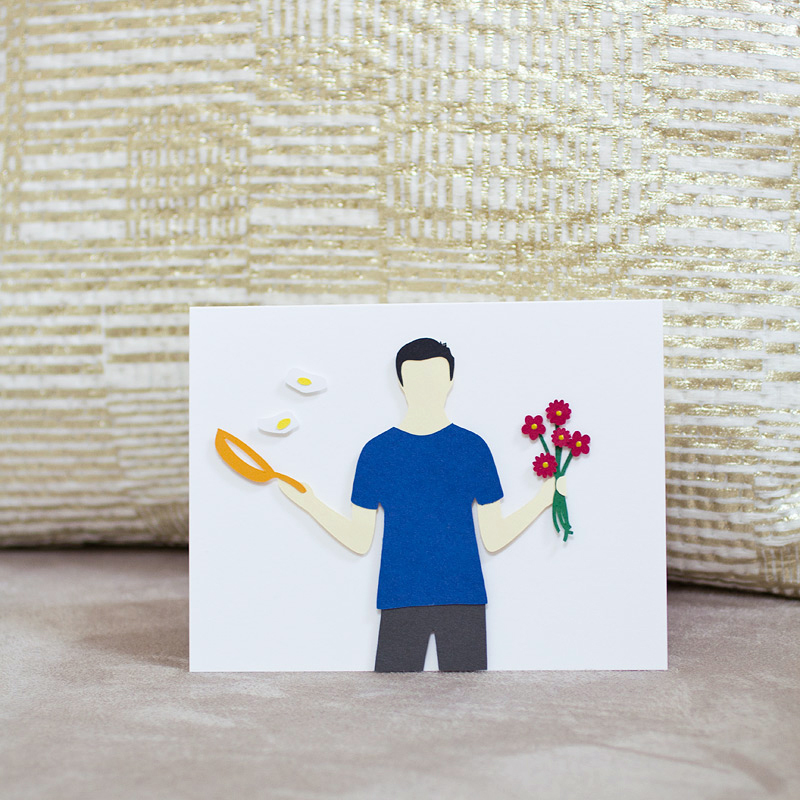
This card was custom created to thank the perfect husband. Juggling work, education, and family life can be rather tough, but when you have a supporting husband whose mission in life is to help your dreams come true, he whips out the frying pan to cook when needed and doesn’t forget about romancing either.

See more of my custom cards here.
June 23, 2015
Filed Under : Paper Projects
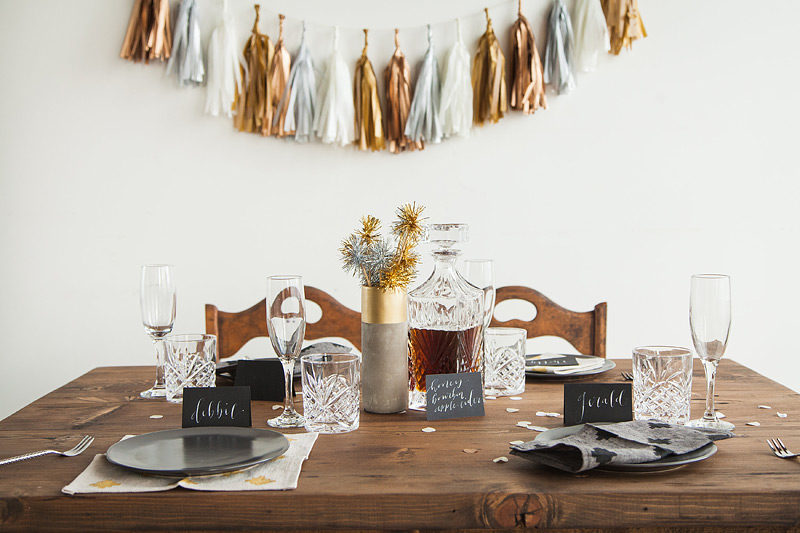
In all the hustle bustle of these past several months, I completely forgot to share this fun styled shoot that I got to be a part of. It went down this past January and I’m only sharing now? Oh well.
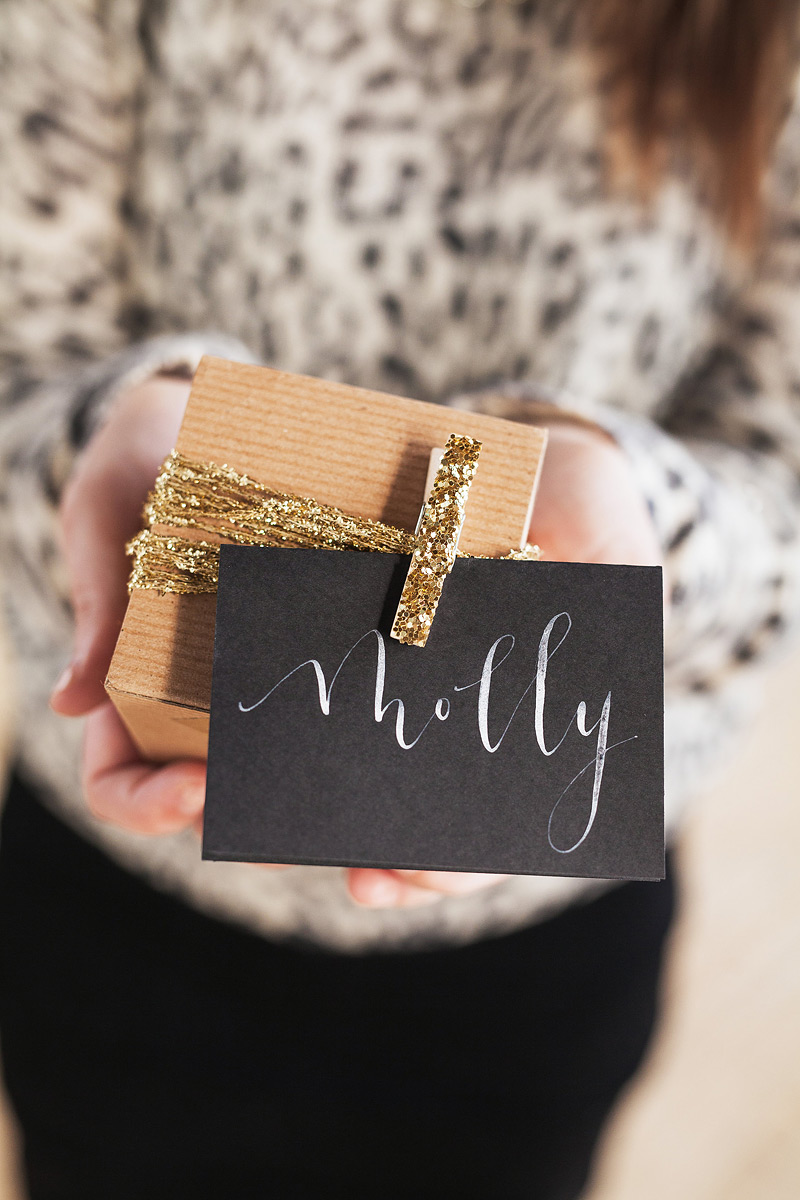
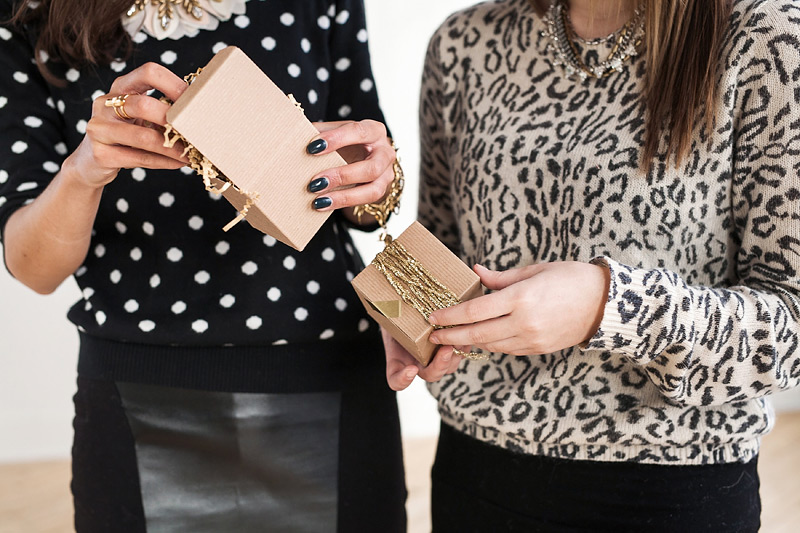
I got to provide little kraft boxes, gold washi tape, gold glitter string, and gold glitter clothespins for the shoot to make up the favors. If you’re inspired, head on over to my Shop to find those items to make your own!

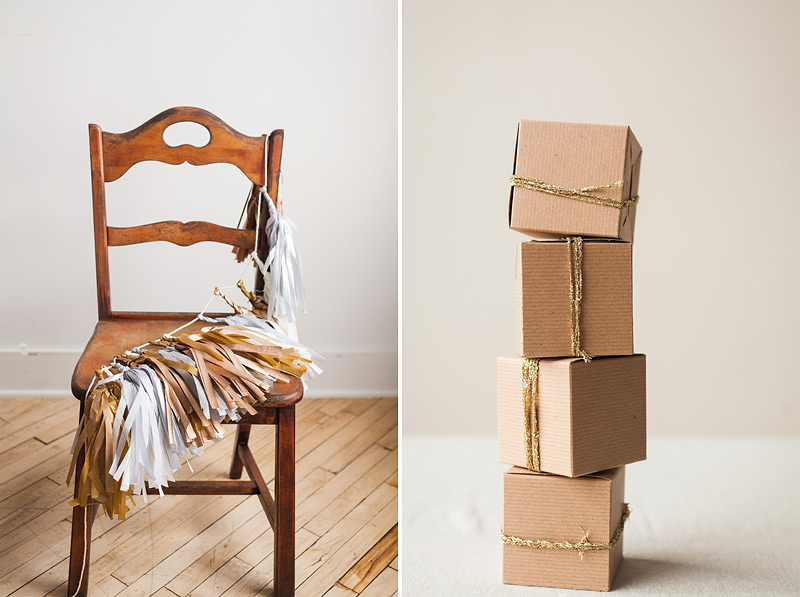
Creative Direction + Styling: Spark and Wildflower
Photography: Dionel Photography
Cocktail napkins: Folk and Faro
Calligraphy: Bulter’s Pantry Calligraphy / BP Invites
Garlands: The Flair Exchange
Drink stirrers: Peach and Pearl
Kraft boxes, glitter string, glitter clothespins + washi tape: Anastasia Marie
Tables + Chairs: Carey McMahon
Dessert plates: One Kings Lane // salad plates: West Elm
Chargers, cement vase, serving tray: Target
Cake stand, forks + tablecloth: Home Goods
June 17, 2015
Filed Under : Gift Wrap + Packaging - Paper Projects
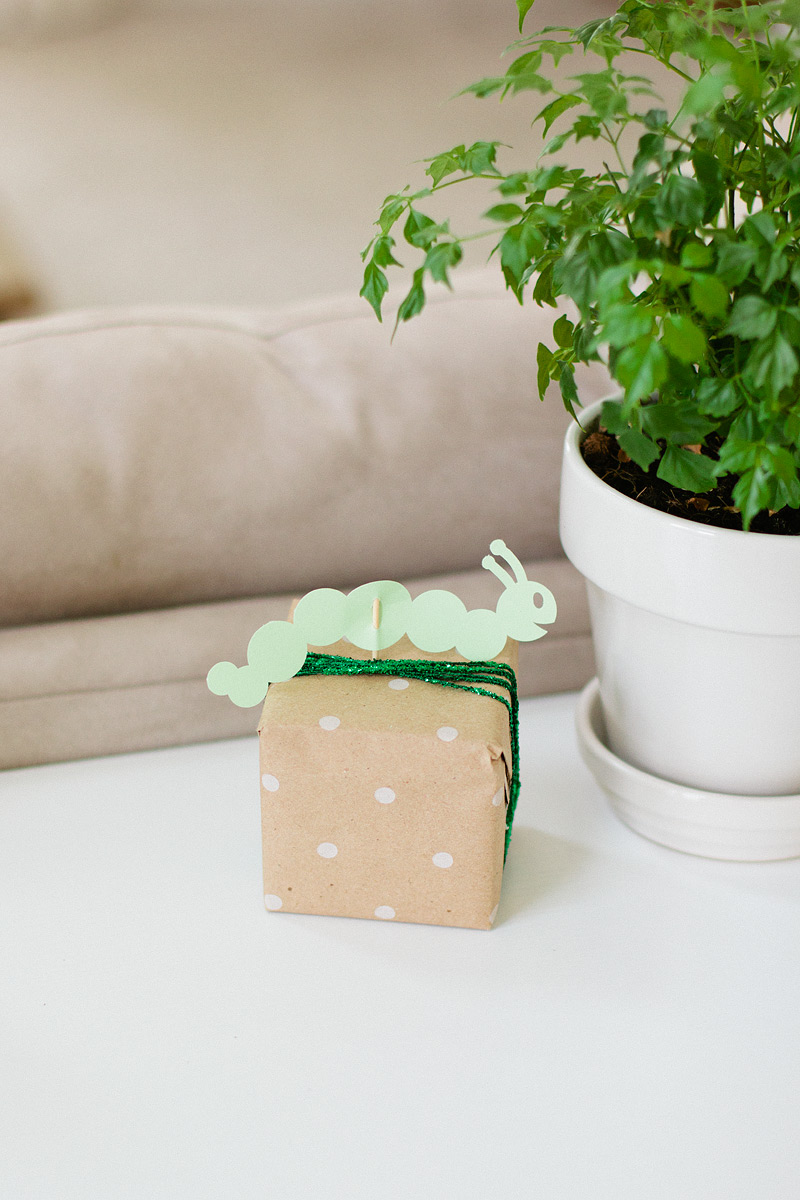
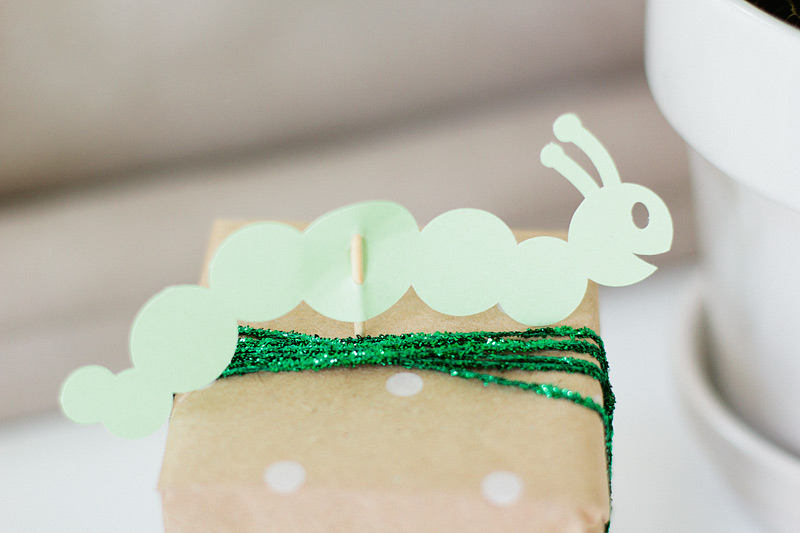
Baby shower gift wrap is just way too much fun to do. You can get as whimsical and childlike as you want and no one will bat an eye. One of my friends is going to be a mama really soon and for her baby shower, I gave her a caterpillar wrapped gift. Packaging supplies needed are listed below:
Small kraft box (or larger if you have a larger gift, of course)
White polka dotted kraft wrapping paper (the one I used is from Target)
Mint green washi tape
Green glitter string
Mint green cardstock
Dull-point toothpick
Double-sided tape
1/8″ hole punch
Sharp fine tip scissors
Wrap your boxed gift in the wrapping paper, using double-sided tape to secure the flaps. A gift always looks cleaner if you hide the tape, thus why double-sided tape is my favorite. Add the washi tape across the flaps just for decorative style. Wind the glitter string around the box several times, secure the two loose ends, and trim. Once that bit is done, cut out a fun silhouette of a caterpillar from your green cardstock. Use your hole punch to create two small holes in the center of the caterpillar. Guide the toothpick through those holes. Figure out a good placement for the caterpillar, mark where the toothpick would insert into the top of the wrapped gift, and use the fine tip scissors to poke a small hole in that place. Insert the fully assembled caterpillar and you’re done.

