A Glittering + Sparkling Birthday

December 4, 2012

Filed Under : Personal

This past Saturday I threw a glitter + sparkle themed birthday party, with just my lady friends. I hadn’t done a party with girls only since my teenage years, so I decided to give it another whirl. I asked them all to come decked out in something glittering and sparkling, and I was thrilled to see that each of them did.

I made an inspiration palette last night to kind of illustrate what look I was trying to produce (let’s just say making an inspiration palette after the event occurs is a lot harder than I thought it’d be). I posted it right before this post, so make sure you go take a look-see.

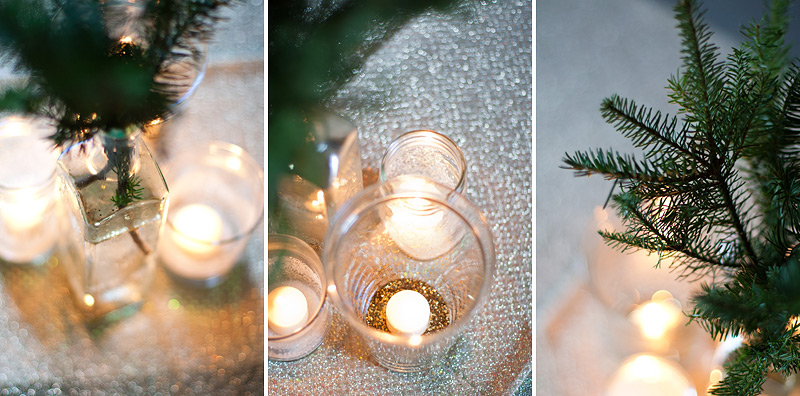
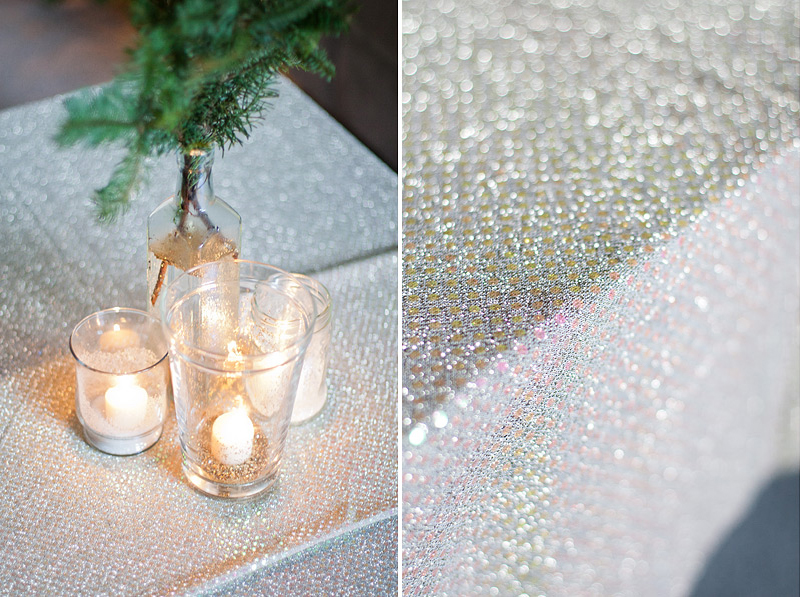
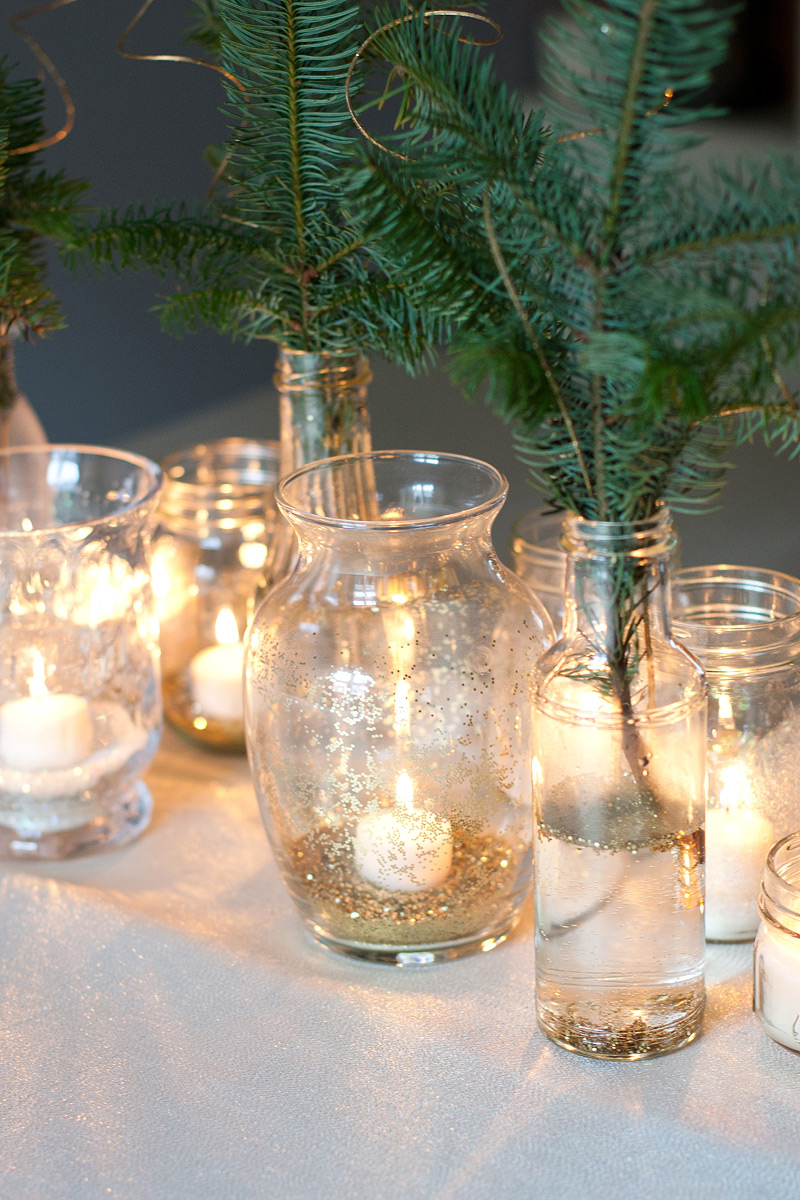
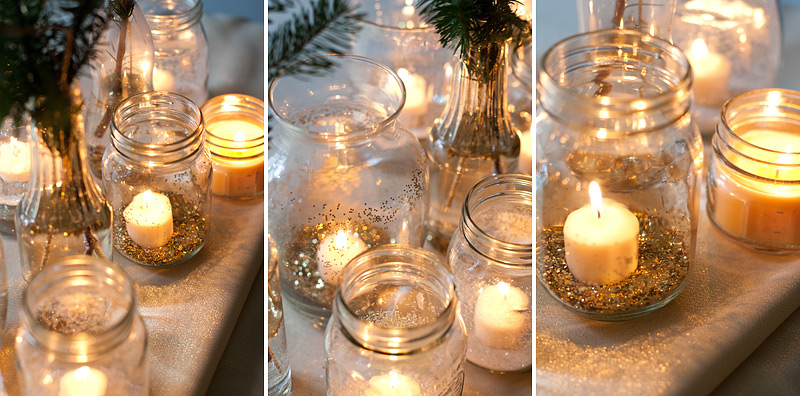
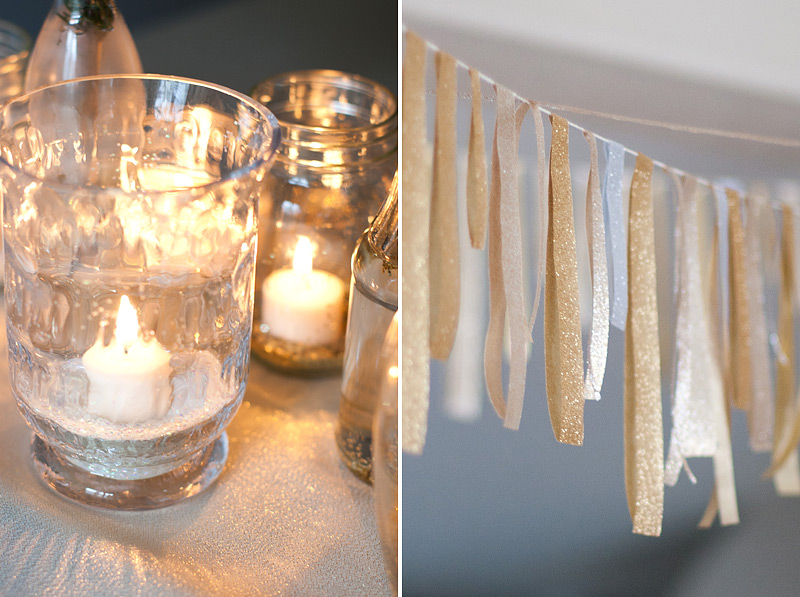
Since my dining room table can only comfortably fit about 4-6 people, like every party we host, it was a buffet style party. So all the mingling had to happen in our living room either around the coffee table if you were lucky enough to get there first, or on the floor. To deck out that area, I bought a piece of sparkling fabric for the coffee table, glittered up some glass jars and vases to use as candles, and recycled the cut-off branches from my Christmas tree as the “floral” centerpiece. Even the bottles with the branches had glitter floating around in the water.

For the dining area, I laid out a shimmery gold tablecloth, glittered up some more jars, and had a few more bottles filled with glitter and the tree greens. I also made a glittery ribbon garland for the ceiling. I’ll put up a little DIY post tomorrow on how I made it.

Inspire. Palette #124: Oh Sparkle!

Filed Under : Palettes

Get covered in glitter and sequins…

A palette for my sparkly-themed birthday party. Pictures coming later today.

Loving these gold sequins (image source unknown); this tree (image source unknown); these glitter boxes via Blue China Studio on Etsy; this glitter cake topper via The Paper Pony; these glittery candles via Ruche Handmade Holiday; this peter pan top via Ruche; these stars via Somewhere Splendid; and this sequined table cloth via Style Me Pretty, photo by Emily Steffen

Hello 25.

Filed Under : Personal

Yesterday was my birthday. I have officially lived a quarter of a century. Every year I try to come up with a fun theme for my birthday party. Past years have been Noah’s Ark, Kate Spade, bright colors, etc.; this year was all about things that sparkle. I’ll be putting up pictures of the decor later on today, as well as the party inspiration palette I put together (after all the partying was all over actually). But in the meantime, here are are some snaps from my Instagram:

1   Putting together some glittery details for the party.

2   Picking out a glittering/sparkling outfit for the party was fun.

3   My sis and I at my party all decked out.

4   Left: a handmade card I received; right: my party invitation (which I’ll put up on the blog Thursday).

5   Birthday crepes with my hubby on my actual birthday.

6   A little stroll through Portland followed afterwards.

Tour My Studio!

November 29, 2012

Filed Under : News

I just recently had one of my lovely friends (Angela Shae) come over and take some photos of my newly redecorated creative space. I’m thrilled with the outcome, and those of you who follow me on Instagram, know that I’ve been working on it for a while now, and I can happily say that it is finally finished! I put up the photos of my studio on my main website and also on the blog — and you can access them by clicking on the “Tour the Studio” link in the top menu.

Also, my creative space just recently got featured on Eva Black’s design blog. There’s a mini-interivew included, so head on over there to check it out. I talk about my space, what I love most about it, and a little bit more in depth of how I got started in the stationery business.

Gift Wrap: Sparkling Pine

November 28, 2012

Filed Under : Gift Wrap + Packaging - Paper Projects

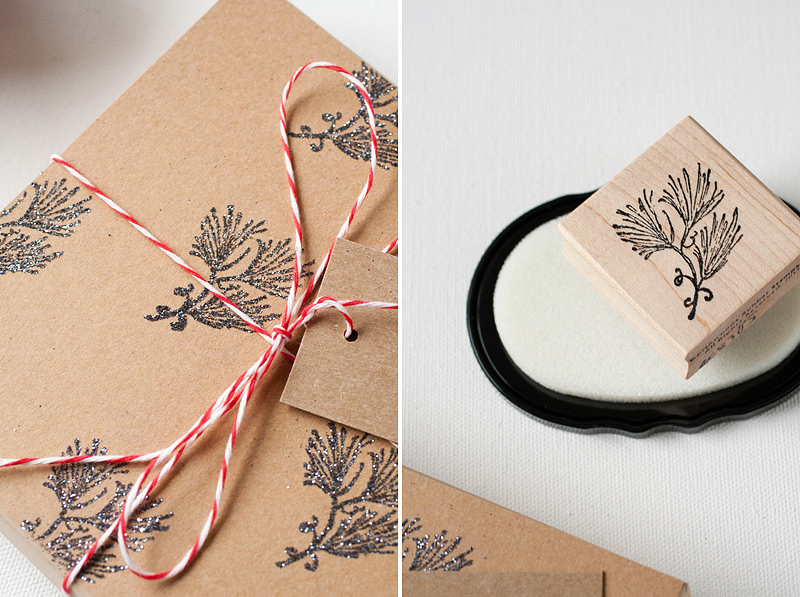
Today, I have another gift wrap idea for you. I couldn’t resist. Going off from yesterday’s glittery palette, I created this using a kraft box, kraft paper, glitter, holiday stamps, a glue ink pad, and baker’s twine.

I chose a pine branch as my “pattern” for the wrap. Stamp away using the glue ink pad, apply glitter, and shake off. Cut the sheet to the size of the kraft box lid. Glue it to the lid, tie it all up with baker’s twine, make your tag with more glitter and the glue ink pad, and voila, you’ve got yourself a beauty.