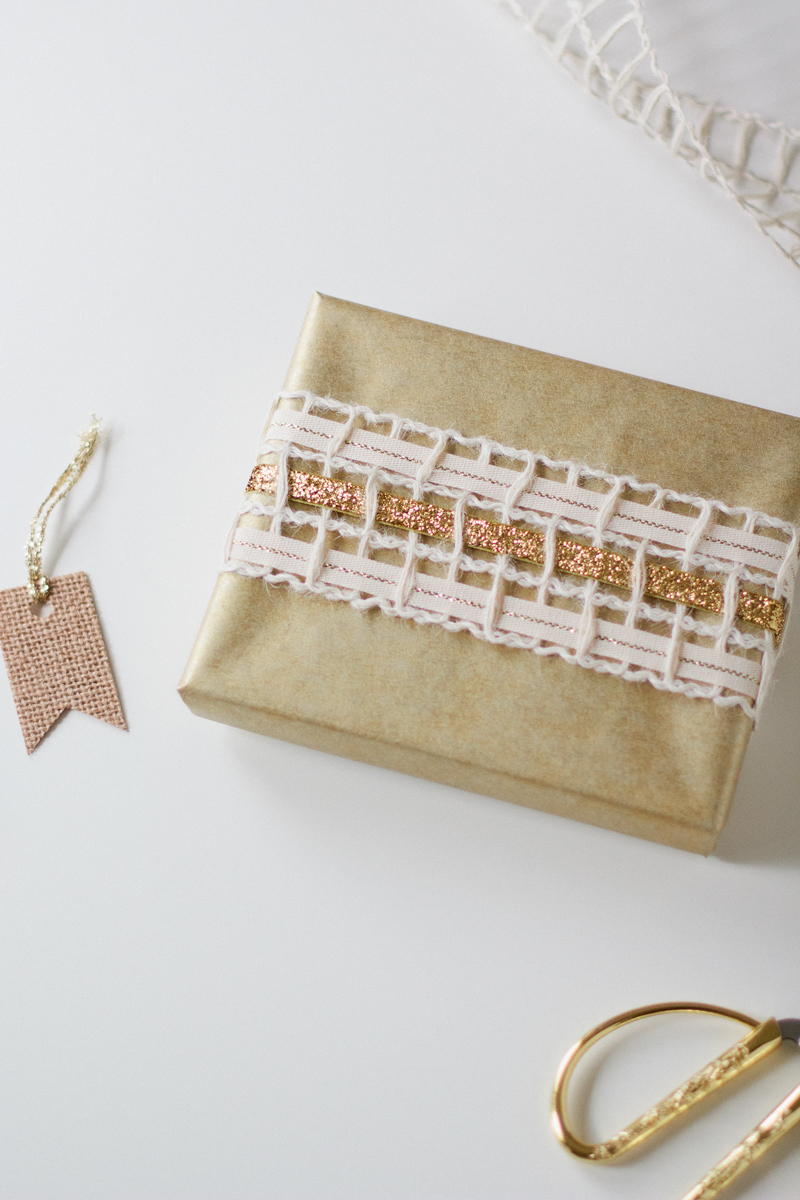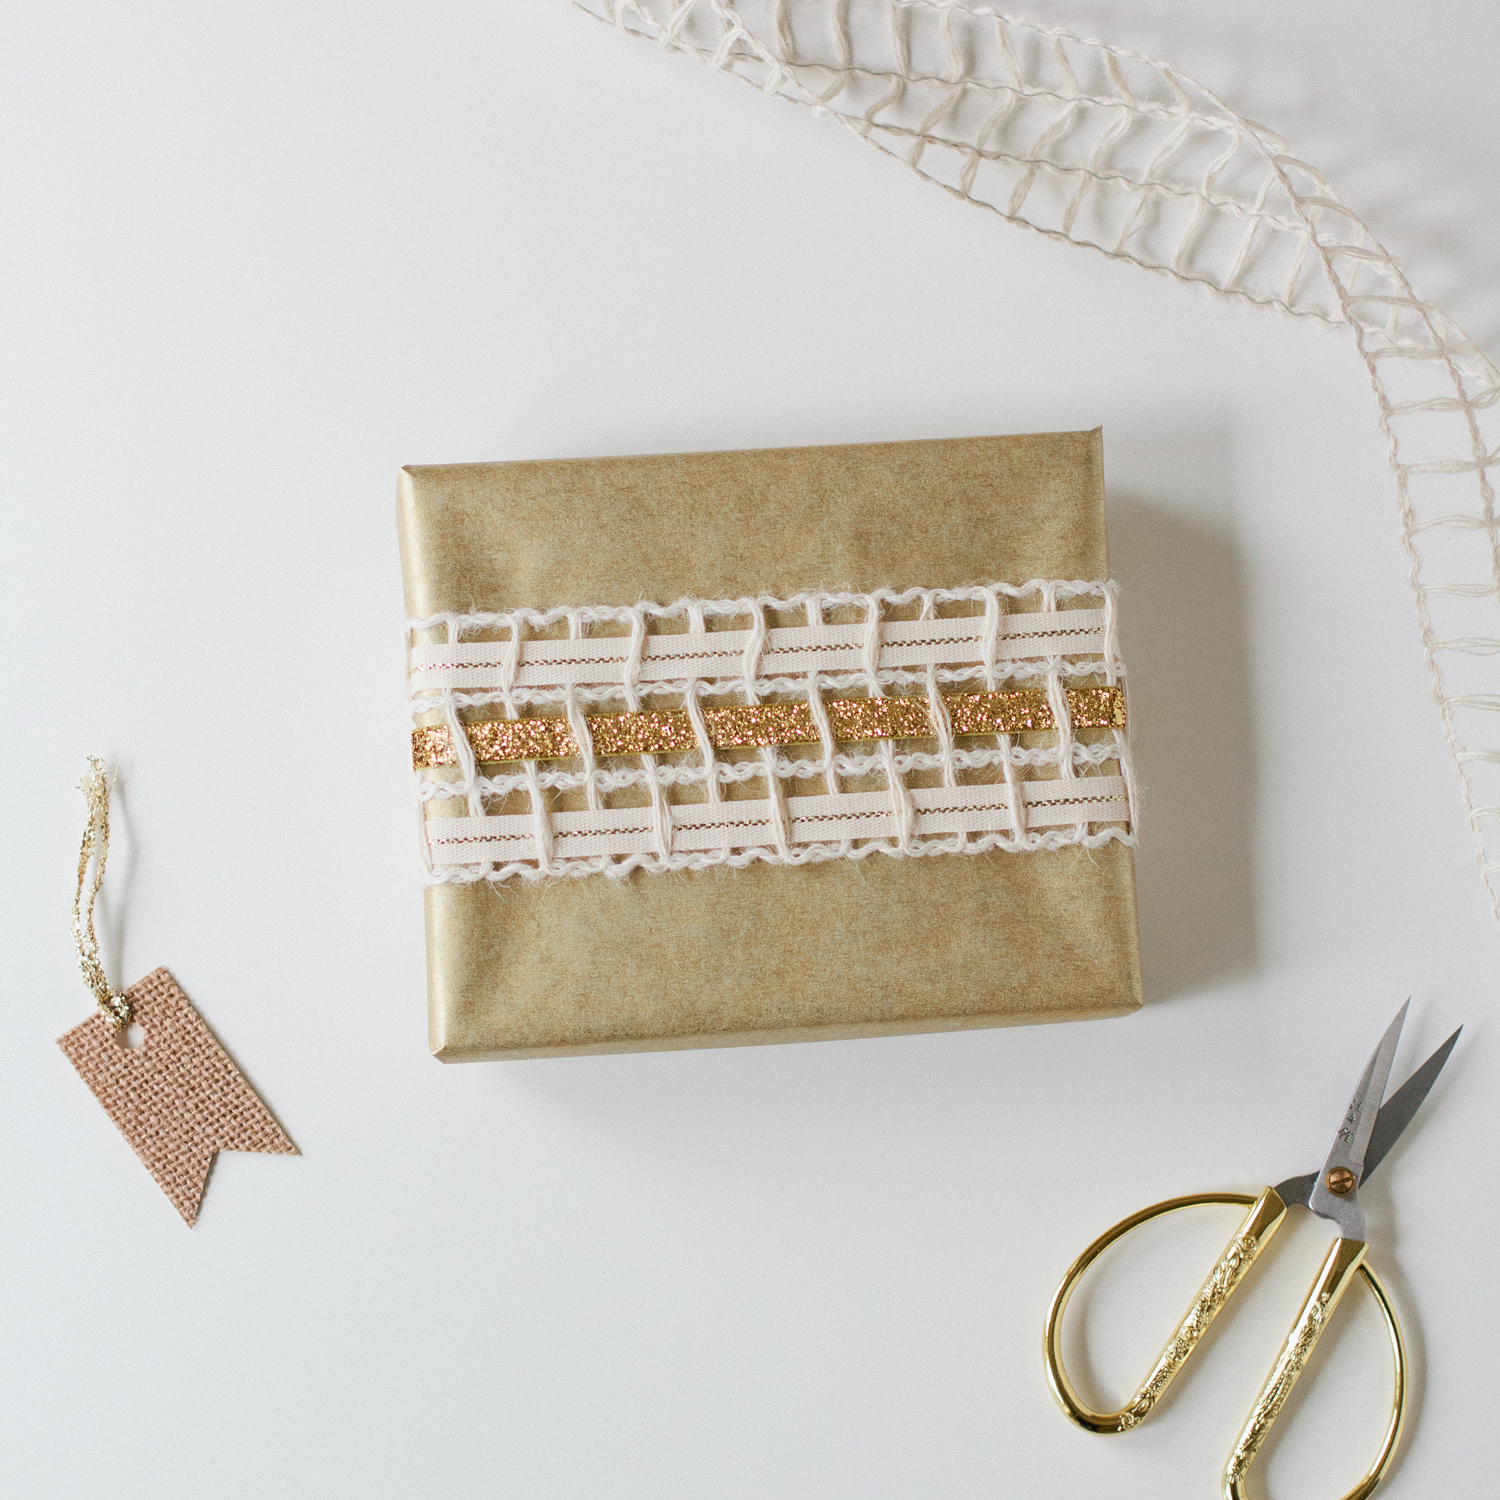
Weaving ribbon together can create quite the timeless wrapped gift. For todays’ gift wrap idea, it’s perfect for the holidays. Whether it’s a Christmas present or a winter birthday, sparkle can never go wrong this time of year! Here’s what you need to re-create this look (click on the links below to source items):
Gift box
Gold kraft wrapping paper
Open-weave wired ribbon
Gold glitter velvet ribbon
Gold center stripe ribbon
Ivory cotton string
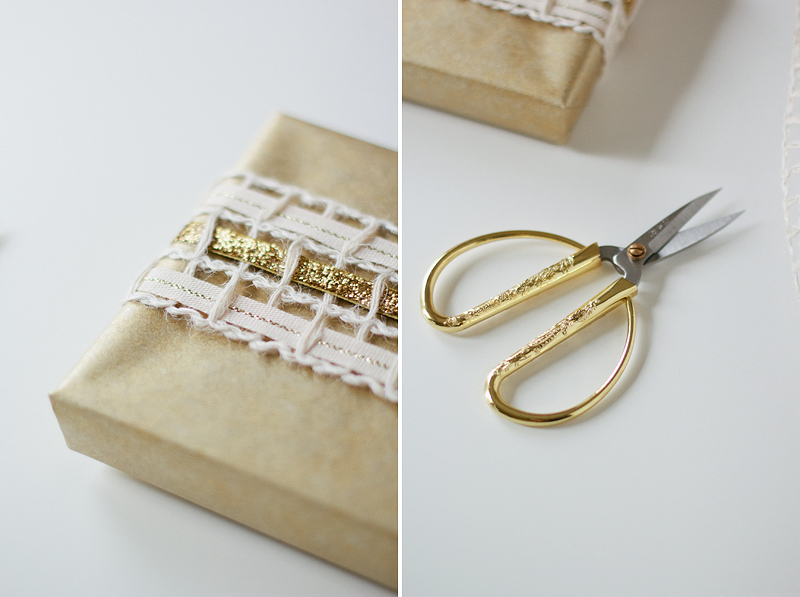
Scissors
Double-sided tape
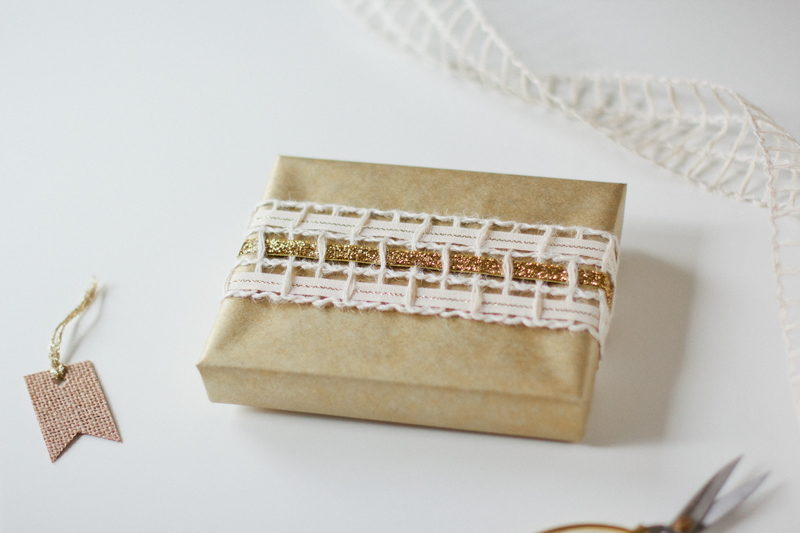
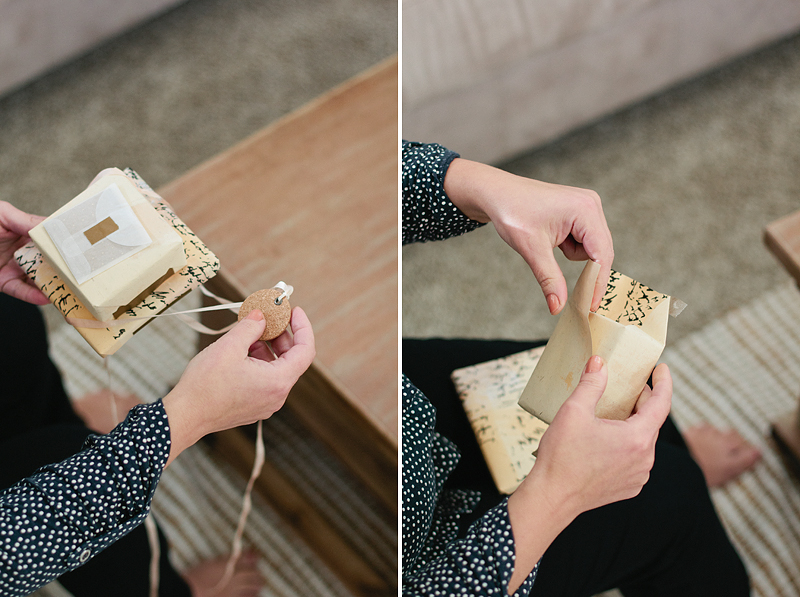
Start by wrapping your boxed gift with your wrapping paper, using the double-sided tape to secure the flaps. Next, wrap the open-weave ribbon around the box across the longest length. Tie the two ends together in the back using the cotton string.
Then start weaving! Use the gold glitter velvet to weave through the middle portion of the open-weave ribbon. Tie the two ends in the back with a small knot. Repeat with the gold center striper ribbon on the two outer portions of the open-weave ribbon and knot those as well in the back. If you’d like, you can tie on a mini burlap tag to finish it off.