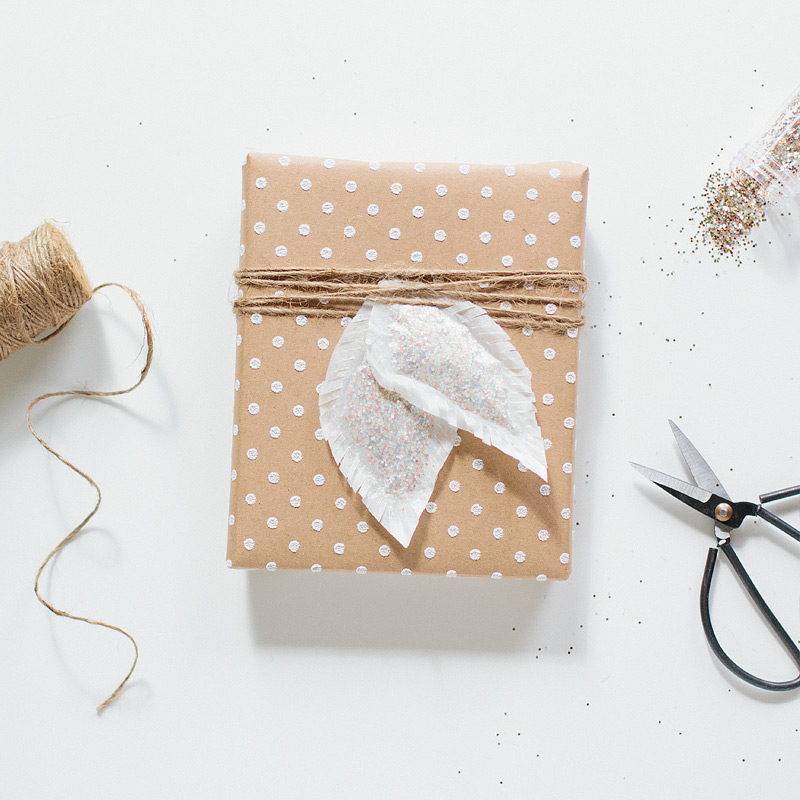
Sometimes you just have to use things you normally wouldn’t use for a project. In this case, I decided to recycle some crumpled glassine bags to make my next gift wrap idea. Love it? Here’s the how to plus things you’ll need to get it done:
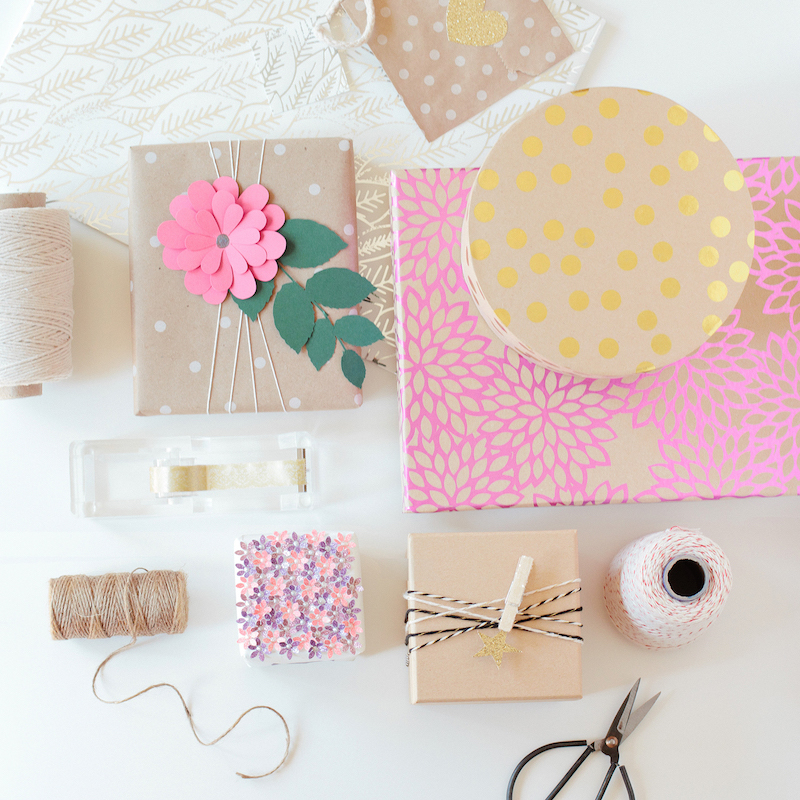
Embossed white polka dot wrapping paper (I used a sheet of scrapbooking paper found at JoAnn)
Kraft box
Chunky glitter in fall-themed colors (I used copper, silver, gold, and iridescent).
Glassine bags
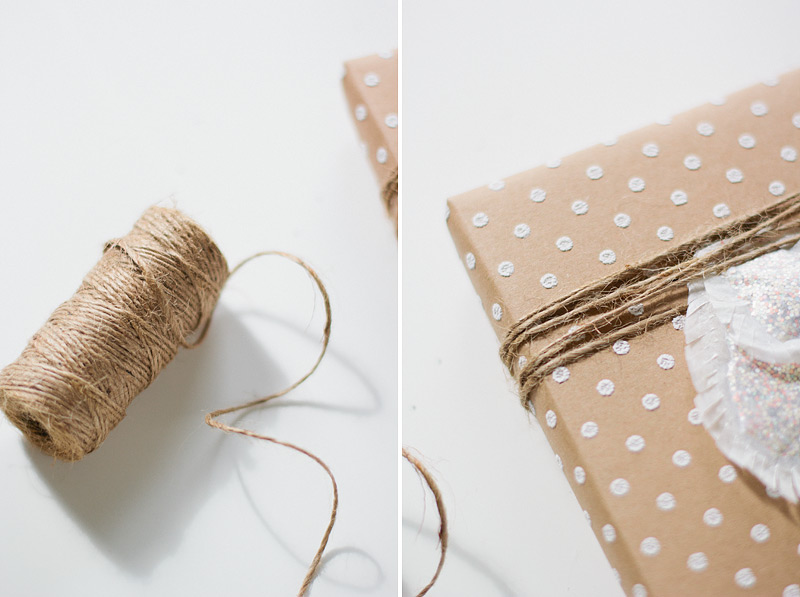
Natural jute
Scissors
Fine-tip scissors
ModPodge for Paper
Foam brush
Mini funnel
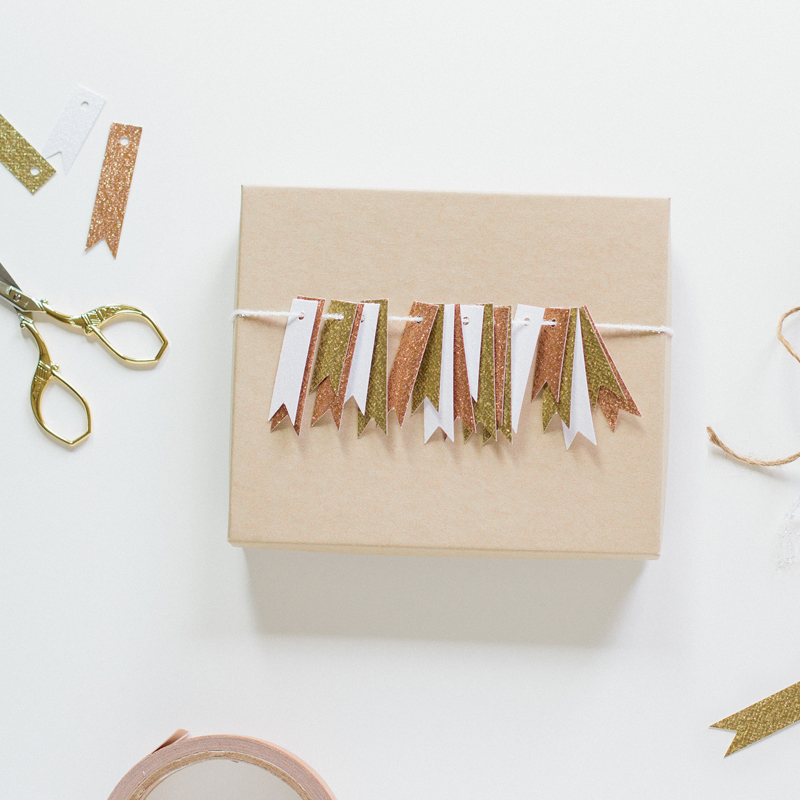
After your gift is placed inside the kraft box, take two glassine bags and cut out a leaf shape from each. Vary the size and shape of the two leaves and do your best to keep the two sides of the bag together when making your cut. You’ll need both sides to line up perfectly when putting together your leaf. Next, take your brush and apply glue on the edges of your cut leaf, leaving about half an inch sometime along the edge glue-free (this is where your glitter will get poured into). Glue the two pieces together and let dry. Repeat with each leaf. (Note: glue at least a quarter inch of the edges down for the best effect, details later.)
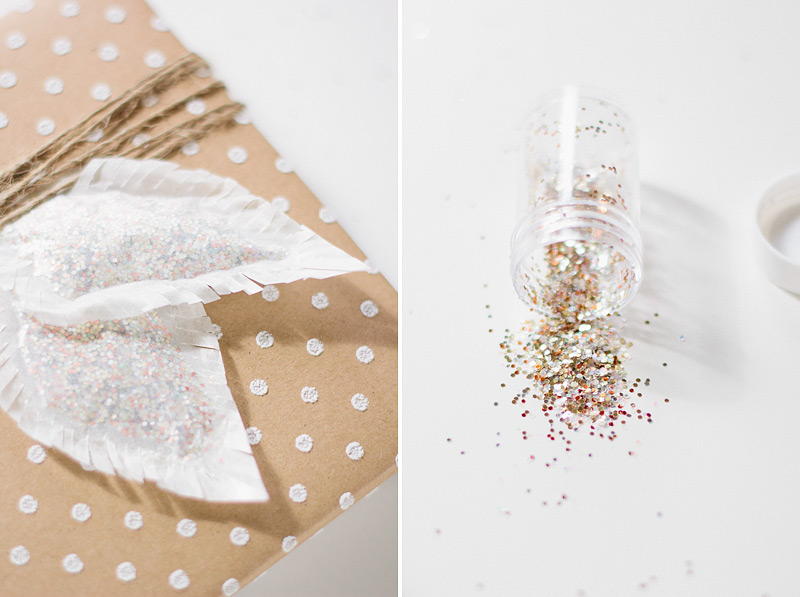
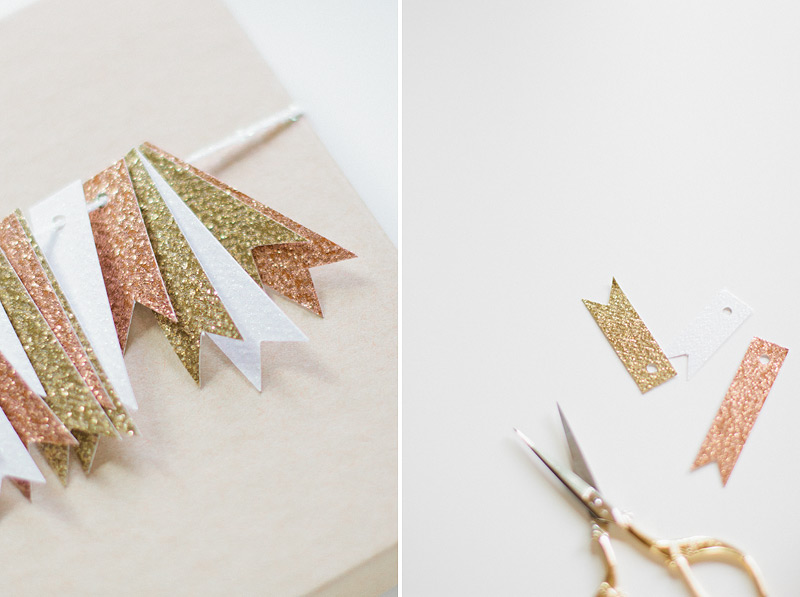
Once dry, mix together your glitter colors to a blend you love and use the funnel to pour the glitter inside each leaf through the unglued opening. Then glue each opening shut. Take your fine-tip scissors and add fringe to the edges of each leaf. Make sure your cuts don’t go past your glued portion, otherwise you’ll have glitter falling out of your leaf.
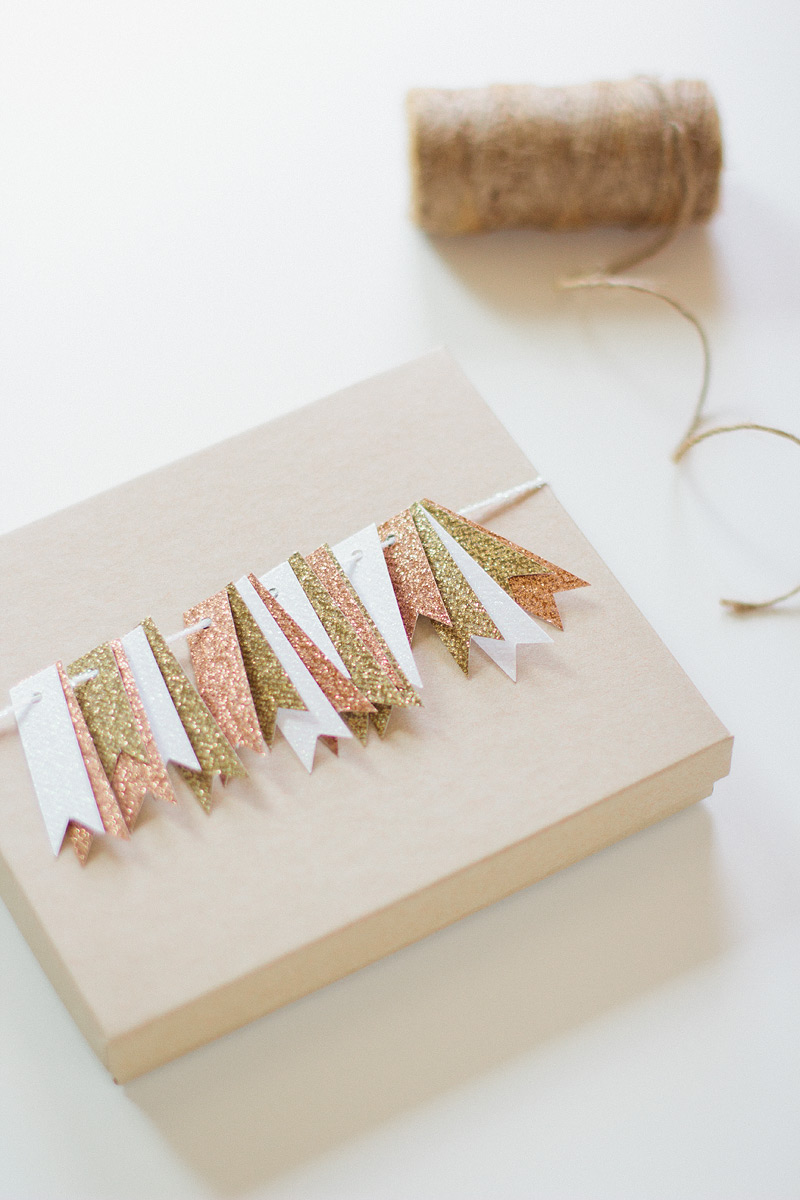
Lastly, wrap some jute around your box and use some glue to adhere the leaves to the box. You’re done!