Sweet fruit amongst autumn tones…

cake | drinks | gift wrap | flowers | favors | table setting | place cards | dipped mandarins

November 2, 2015
Filed Under : Palettes
Sweet fruit amongst autumn tones…

cake | drinks | gift wrap | flowers | favors | table setting | place cards | dipped mandarins
October 15, 2015
Filed Under : Gift Wrap + Packaging - Paper Projects

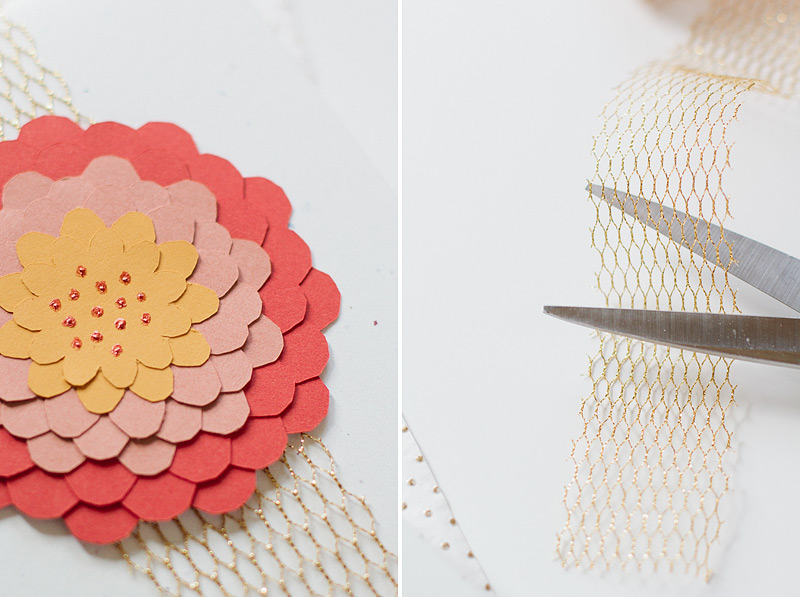
Paper flowers will always be a favorite of mine. Today, we have dahlias! To recreate this look, you’ll need the following:
Ivory speckled wrapping paper (I used a sheet of scrapbooking paper from Michaels)
Card stock in three shades of fall colors
Copper/brown puff glue
Wide gold net ribbon
Scissors
Double-sided tape
Mounting tape
Tacky Glue
Cut out eight dahlia silhouettes from the card stock, each one just smaller than the last. Your larger three should be from your darker colored card stock, the next three from your middle colored one, and the last two from your lightest one. Glue them on top of each other from largest to smallest, rotating each layer just a bit to create fullness in the dahlia. Then take your puff glue and apply several dots in the middle and let dry.
While the flower is drying, wrap your boxed gift in the wrapping paper. Then cut a strip of the gold net ribbon just long enough for the ends to slightly overlap on the back of the wrapped gift. Glue the ends down with a few dabs of glue. Once the flower is dry, place a small square of mounting tape on the back of it and secure it on the front of the wrapped gift in the middle. Done!


October 13, 2015
Filed Under : Cards - Paper Projects

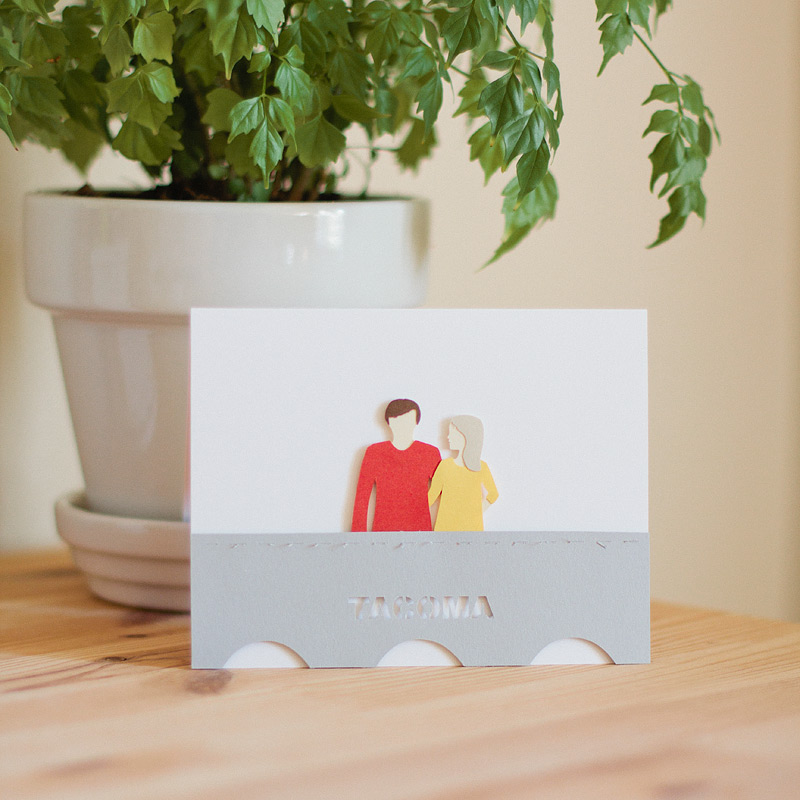
This card was custom created with a couple embracing on a bridge in the city of Tacoma, Washington. Simple. See more of my custom cards here.

October 8, 2015
Filed Under : Gift Wrap + Packaging - Paper Projects

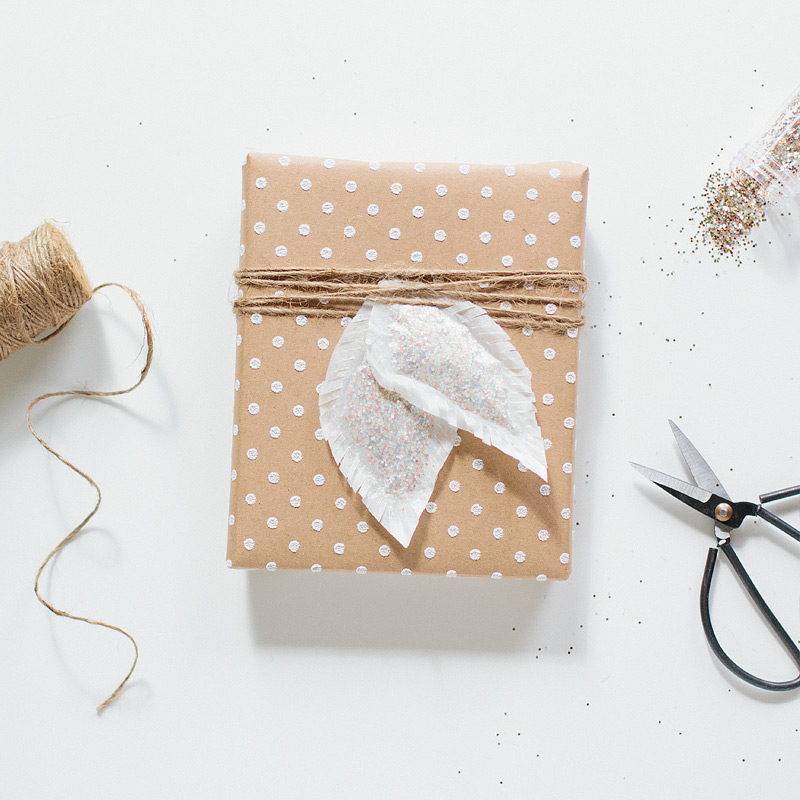
Sometimes you just have to use things you normally wouldn’t use for a project. In this case, I decided to recycle some crumpled glassine bags to make my next gift wrap idea. Love it? Here’s the how to plus things you’ll need to get it done:
Embossed white polka dot wrapping paper (I used a sheet of scrapbooking paper found at JoAnn)
Kraft box
Chunky glitter in fall-themed colors (I used copper, silver, gold, and iridescent).
Glassine bags
Natural jute
Scissors
Fine-tip scissors
ModPodge for Paper
Foam brush
Mini funnel
After your gift is placed inside the kraft box, take two glassine bags and cut out a leaf shape from each. Vary the size and shape of the two leaves and do your best to keep the two sides of the bag together when making your cut. You’ll need both sides to line up perfectly when putting together your leaf. Next, take your brush and apply glue on the edges of your cut leaf, leaving about half an inch sometime along the edge glue-free (this is where your glitter will get poured into). Glue the two pieces together and let dry. Repeat with each leaf. (Note: glue at least a quarter inch of the edges down for the best effect, details later.)


Once dry, mix together your glitter colors to a blend you love and use the funnel to pour the glitter inside each leaf through the unglued opening. Then glue each opening shut. Take your fine-tip scissors and add fringe to the edges of each leaf. Make sure your cuts don’t go past your glued portion, otherwise you’ll have glitter falling out of your leaf.
Lastly, wrap some jute around your box and use some glue to adhere the leaves to the box. You’re done!
September 22, 2015
Filed Under : Palettes
Combining similiar metals creates a gorgeous glow…

candles | cake | stationery | couple | table number | place setting | bunting | gifts